h5 服装网站模板怎么给老板提供网站建设资料
挖个洞先
https://mp.weixin.qq.com/s/ZnaRn222xJU0MQxWoRaiJg
“以下漏洞均为实验靶场,如有雷同,纯属巧合”
合成类小游戏三个特点:
1、一关比一关难,可以参考“羊了个羊”
2、无限关卡无限奖励,可以参考“消灭星星”
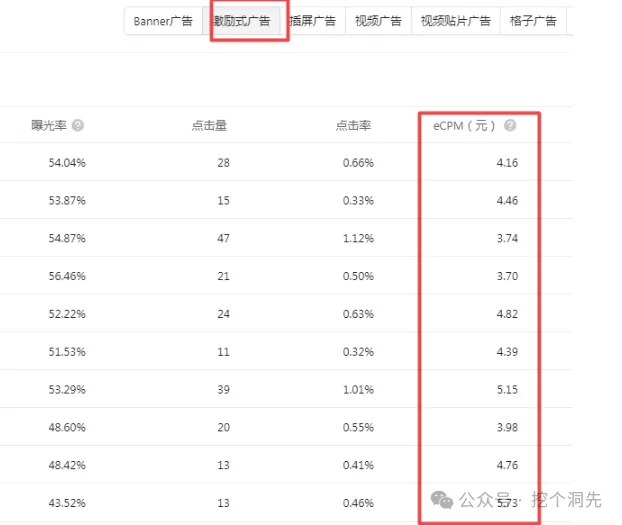
3、看广告可以获得道具
01
—
漏洞证明
一、并发漏洞
“通关奖励太少了,如何获得更多金币?”
1、游戏通关奖励30金币

2、并发数据包

3、并发前35金币,正常情况通关加30金币,数量应该变为65金币

4、并发后数量变为3965金币

二、信息泄露
“游戏第四关开始明显变难,一把游戏十几分钟都通不了,如何作弊速通?”
1、退出游戏,重新进入,返回包存在通关密钥

2、将通关密钥填入到通关数据包game/passStage中即可速通游戏,结合并发漏洞可无限次获取无限金币

三、重放漏洞
“看一次广告获得道具+1,如何获得大量道具?”
1、两个游戏道具
道具二:随机清空一个格子
道具三:打乱顺序重新排列

2、观看广告获取道具

3、请求包中itemType=3代表道具二,itemType=1代表道具三

4、重放数据包,游戏道具无限增加

02
—
漏洞危害
1、金币可兑换会员等虚拟物品

2、刷道具,减少视频广告收入