p2p理财网站开发框架信息服务平台网站名称
一、概述
Docker持久化是指将容器中的数据持久保存在主机上,以便在容器重新启动或迁移时不丢失数据。由于Docker容器是临时和可变的,它们的文件系统默认是易失的,这意味着容器中的任何更改或创建的文件都只存在于此容器的生命周期内。但是,在许多场景中,我们希望在容器终止后仍然保留数据,并且能够在容器重新启动时继续使用。
为了实现持久化,Docker提供了几种方法:
1、数据卷(Volumes):数据卷是容器内和主机之间共享和持久化数据的一种方法。数据卷可以用于在容器之间共享数据,也可以用于将数据保存到宿主机上的特定路径。数据卷可以手动创建,也可以在容器启动时自动创建。
2、绑定挂载(Bind Mounts):绑定挂载允许将主机上的目录或文件直接挂载到容器中。这种方法允许容器访问主机上的文件系统,并且文件的更改会同时反映在容器和主机之间。
3、临时文件系统(tmpfs):tmpfs是一种内存文件系统,它可以在容器内部创建临时文件和目录。tmpfs文件系统的数据不会写入磁盘,而是存储在内存中。当容器终止时,tmpfs文件系统中的数据会被删除。
通过使用这些持久化技术,可以确保容器的数据在容器终止或重新启动时仍然可用,从而提高容器的可靠性和灵活性。
二、部署
1、Volumes:Docker会管理宿主机文件系统的一部分资源,默认位于 /var/lib/docker/volumes 目录中;(最常用的方式)
docker run -it -v /boot/ nginx /bin/bash
root@f470443d8604:/# touch /boot/syh.txt
root@f470443d8604:/# ls /boot/
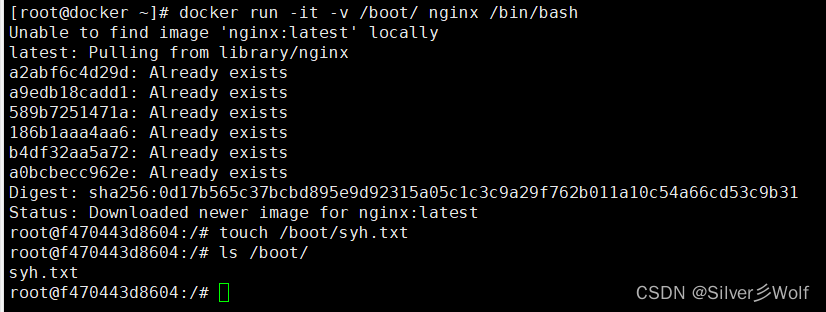
退出(ctrl+pq),到宿主机中查看
可以看到在默认路径中会有在容器中创建的测试文件

docker volume create nginx-data 创建一个自定义容器卷docker volume ls 查看所有卷组docker volume inspect nginx-data 查看指定卷组的详细信息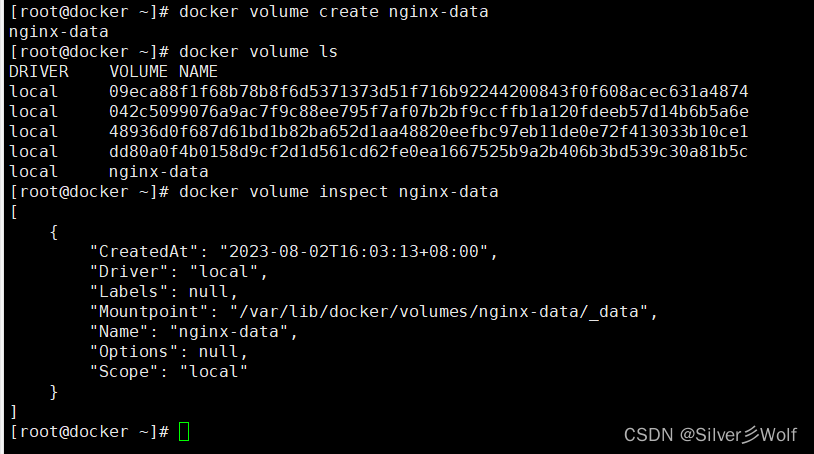
docker run -d -it --name=nginx -p 8000:80 -v  创建使用指定卷的容器
docker exec -it nginx /bin/bash

把容器删除后会发现文件还会存在
ls /var/lib/docker/volumes/nginx-data/_data/
docker stop nginx
docker rm nginx
ls /var/lib/docker/volumes/nginx-data/_data/ 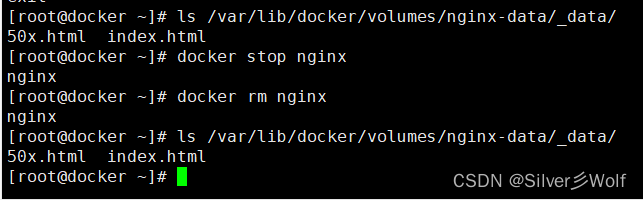
所以在数据卷里边的东西是可以持久化的。如果下次还需要创建一个nginx容器,那么时候复用当前数据卷里面文件的。
docker volume rm nginx-data      删除卷组
docker volume ls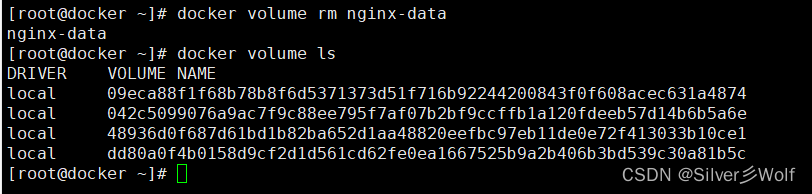
2、Bind Mounts的基本使用
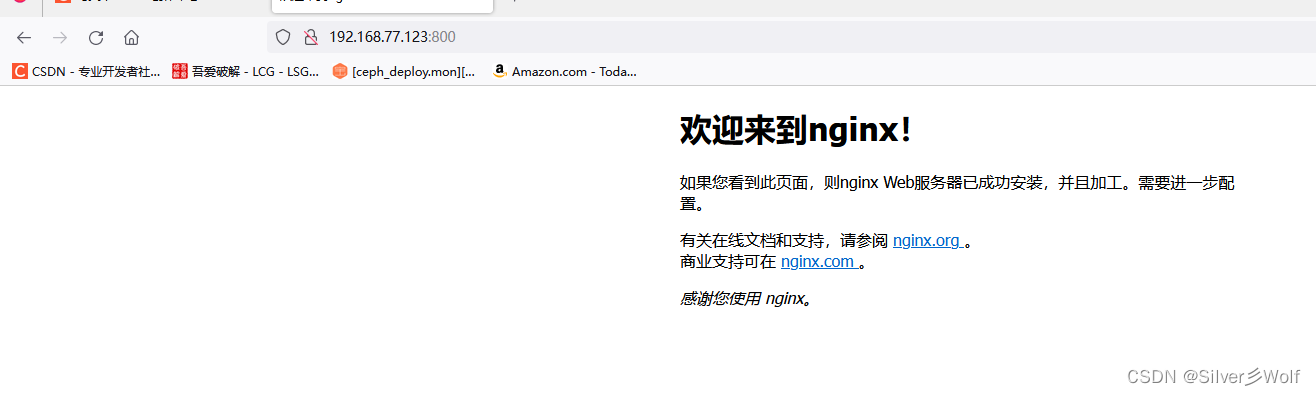
docker run -d -it --name=nginx -p 800:80 -v /wwwroot:/usr/share/nginx/html nginx
docker exec -it nginx /bin/bash
ls /usr/share/nginx/html
cat /wwwroot/index.html
echo "test html" > /wwwroot/index.html


docker inspect nginx 绑定验证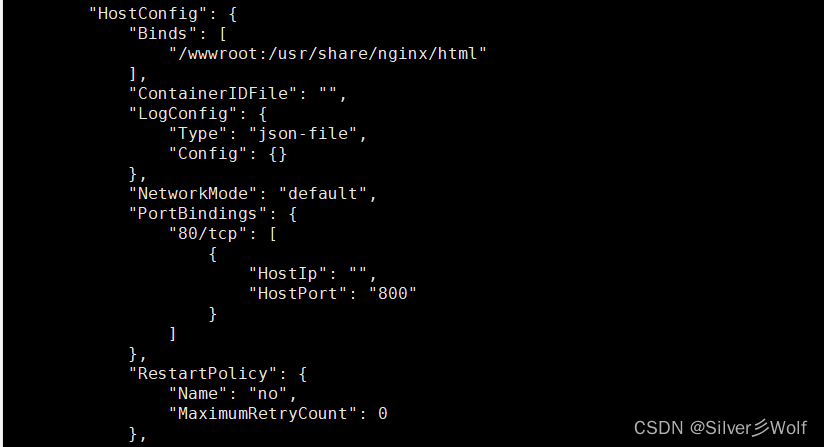
docker stop nginx      清除卷组
docker rm nginx
ls /wwwroot/
同volumes一样,当我们清理掉容器之后,挂载目录里面的文件仍然还在,不会随着容器的结束而消失,从而实现数据持久化。
三、数据卷容器
数据卷容器(Volume containers)是一种用于存储和共享数据的容器。在容器化的环境中,容器是一种轻量级的虚拟化技术,可以快速启动和停止,但容器本身是无状态的,不保存数据。这意味着当容器被停止或被删除时,容器内部的数据也会被清除。
为了解决这个问题,数据卷容器就出现了。数据卷容器是一种特殊的容器,它被设计用于存储和管理数据,并与其他容器共享数据。数据卷容器可以被挂载到其他容器中,使得这些容器可以访问共享的数据。
数据卷容器通常不运行任何应用程序,它们仅用于存储和管理数据。数据卷容器可以在容器化环境中创建、删除和管理,同时可以通过网络共享和访问数据。这种方式使得数据在容器之间的传输更加方便和高效。
使用数据卷容器有以下几个优势:
1、数据持久化:数据卷容器可以存储数据,并在容器的生命周期中持久存在,即使容器被重新启动或删除,数据也不会丢失。
2、数据共享:数据卷容器可以被多个容器同时挂载和访问,实现数据的共享和协作。
3、灵活性:可以随时创建、删除和管理数据卷容器,使得环境的配置更加灵活和可扩展。
总之,数据卷容器是容器化环境中用于存储和共享数据的一种解决方案,它可以帮助我们实现数据的持久化、共享和灵活管理。
创建数据卷容器,并在其中创建一个数据卷挂载到/dbdata
docker run -it -v /dbdata:/dbdata --name=dbdata nginx /bin/bash
进入test1容器创建文件测试
docker run -it --volumes-from dbdata --name test1 nginx /bin/bash
ls
进入test2容器验证结果
docker run -it --volumes-from dbdata --name test2 nginx:1 /bin/bash
ls
ls dbdata
创建测试文件后退出
 进入test2查看
