dede 网站地图 模块wordpress 目录排序
兵随将转,作为管理者,你可以不知道下属的短处,却不能不知道下属的长处。晋升为领导后,如何开展工作呢?
金九银十,此期间换工作的人不在少数。有几位朋友最近都换了公司,职位得到晋升,有的人已经开始带领团队,独挡一面了,而且最重要的是待遇也都有了非常不错的涨幅。
虽然每个人的职业规划和诉求不一样,但产品研发人员随着经验和能力的不断攀升,优势非常明显,但随着年龄的增长优势逐渐降低,所以很多人都会选择从专业岗转向管理岗。
并不是每个人都适合做领导或者能够做一个好领导,管理是一门艺术,当你有艺术天赋时,在此岗位上会非常愉快的创作,否则会深陷其中,处于不断地纠结之中。
我个人经历过最初的一两人到十几人,再到几十人的团队,深感其管理的痛处,目前内心期望做接受指令、专心做事的岗位,这便违背了“不想当CEO的产品,不是一个好的研发人员”的誓言。但人往高处走,还是应该努力向一名合格的、优秀的领导努力。
那么,当你入职一家新公司担任某部门或某个组的负责人,你会如何开展工作呢?
如果你管理经验丰富,精通业务又深谙项目管理,那么下面的就无需看了,因为这里只是个人对于团队管理的一点总结。
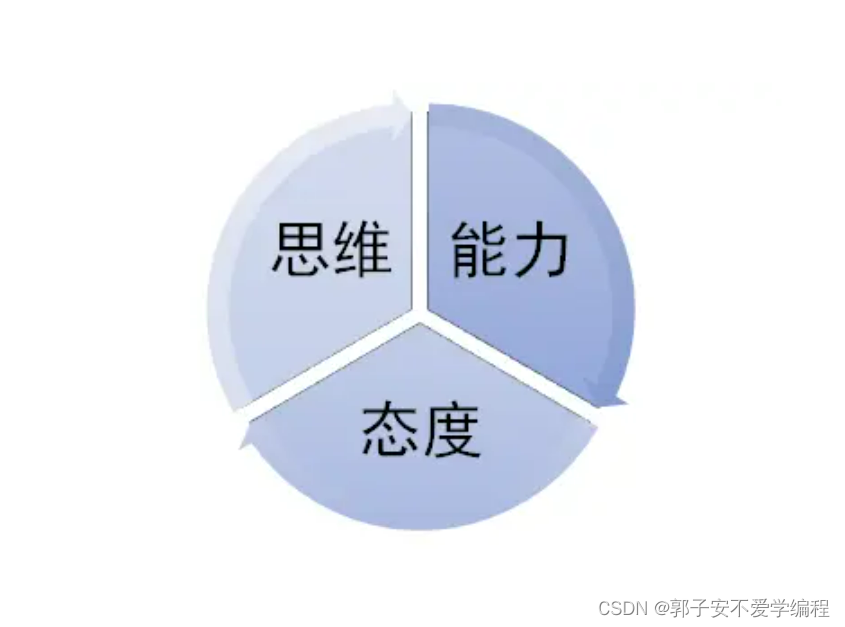
作为一名想做管理的人,首先需要评估一下,自己是否具备一些基本的素质。概括起来可以从三个方面来思考:思维、能力和态度。
1、思维是指领导思维
在实际的工作中有些是需要领导去想去确定,因为下面的人都在眼巴巴的等待你的决策和决定,当然这其中不乏一些看热闹的人存在。
领导思维又分为学习能力、创新能力、分析能力、决策能力等。一个部门会面临很多工作,有内部的、外部的,有熟悉的和不熟悉的,所以学习能力应该是首要的素质要求。
其次,部门或团队要有绩效,要突破原有的创造新的,否则总是在打补丁,终有一天会被淘汰。
第三就是分析能力,面对复杂的业务、烦乱的组织、利益的均衡,如果不能合理的分析利弊、审时度势,那么风险就会悄然而至。
最后便是决策能力,不能武断,要敢于决断,这样才能不丧失良机,不让团队一直原地踏步与纠结。
2、能力是指领导能力
它包括沟通能力、团队协作能力、管理意识和个人的影响力等多个方面。
工作就是沟通,良好的沟通会让很多看似复杂的工作变得简单。“倾听、欣赏、接受”是我一直倡导的沟通六字真言。沟通有很多技术,譬如沟通时要有结构化思维,按时间、按紧急程度、按区域、按递近关系描述问题等。
团队协作能力好与坏代表了整个部门或组织的战斗力,现在项目需求都需要不同的组织、不同的人员配合完成,如何打造一个协作良好的团队,需要制度、流程等有效的手段,忌讳表面协作良好、实则勾心斗角的虚假协作。
管理意识也是一种思考的工作方式。作为管理者,应该始终清楚自己代表团队,要以管理者的角度去思考问题,避免个人感情的过多投入,做到公私分明。
最后是个人影响力,无论你是一个小组的负责人还是部门的负责人,你都是领头羊,要做到言之有物、言之有据、言之有情、言而有信。很多时候,我们通过接触到某个团队中的人员就会知道其领导的风格是什么样。个人的影响还是比较重要的,因为你会影响到你团队中的人的工作方式与态度。
3、态度包括个人的责任心、执行力、积极性和严谨性等
每个人的工作风格都是不同的,有的人偏顶层设计,有的偏细节。作为管理者一般情况应该是抓大放小,重点跟进与监控,但要担起领导的责任,始终保持积极的心态,严谨的开展工作。
以上这些作为领导者应具备的素质,相信很多人都满足。但是,当我们真正在企业开展工作时,具体如何开展呢?
在这里,可以先从四个大方向进行即:内部摸清团队、外部四处拜码头、整理组织结构找利害关系、梳理业务流程抓痛点。

1、内部摸清团队
作为团队的负责人最应该清楚团队的情况和状态。团队是由人组成本,人是战斗的最小单元。管理过程中人的管理是最为重要和关键的,也是最令人头痛的。
刚介入团队,要了解团队中的人员组成,可以从资历、技术能力、擅长的领域、负责的工作内容等多个方面、多个维度去了解。同时还需要了解团队私下人员间的关系如何,是否有冲突和利益,当前团队有什么诉求等。
但切忌,在此阶段不要承诺任何东西,因为你也是初来乍到,很多事情都是不明朗的。记得在前公司新来的产品技术负责人曾在第一波裁员后召开部门会,口若悬河的宣讲两个小时,最后承诺会找人资提涨薪,但接踵而来的是第二、三波裁员,啪啪打脸。
2、外部四处拜码头
有人的地方就有江湖,这也许是很多人离职后,习惯说“江湖再见”的原因。
在内部团队了解差不多后,此时就需要走出去,即拜码头。“拜码头”就是要让外部组织的人对你从不知到知,从不了解到了解的一个过程。
但有些人不习惯主动去找人聊天或还没有具体的方案或想法,不知如何拜码头。这里个人有一个比较简单有效的方法,大家可以借鉴,那就是积极主动的参加各种可以参加的会议。
产品技术负责对接各种业务的需求,有业务需求讨论会,需求评审会,技术方案评估会,测试用例评审会等等。
参与一些有部门负责人参与的会议可以让外部部门的人知晓你的存在和价值,参与一些具体的会议可以让你更熟悉业务,让后期合作的人了解你。
其次,就是定期安排与各个部门就某个业务问题或系统进行讨论,接触了解这些“码头”。
3、整理组织结构找利害关系
在内部和外部有了一定的了解后,接下来就需要根据自己的理解来进行组织结构的划分,寻找利害关系。
企业是由各个业务组织组成的,产品技术是业务组织的支撑部门。对组织单元进一步了解和梳理,有助于后续工作的侧重点。哪些组织对我们影响最大,哪些部门问题最多,这些需要做到心中有数。
前面说了,作为领导者要有创新思维,但是创新就意味着打破或优化一些旧的东西,这势必会造成业务部门使用上的不方便,或某些利益、责任的重新分配,所以个人觉得此部分是要提前整理并防范的。
4、梳理业务流程抓痛点
作为领导,不是团队任务指令的接受者,是根据企业业务需求,按优先级评估,找出有效的方案的决策者。业务上的痛点有些是显而易见的,有些只是业务的片面认识。所以,在此阶段需要结合组织结构梳理业务架构,将业务流程串联起来,然后寻找其问题所在。
这部分可以结合当前进行的需求项目、当前的产品和系统运行状况、内外部的问题外馈进行整理。就便于前面的内部团队访谈,外部的拜码头结合在一起了,所以掌握内部团队情况及外部组织的访谈是要带有目的性和针对性的,而非闲聊。
在短时间内做到以上几点,那么在新的岗位上也便有了一个良好的开始。
作为团队的领导,很多时候是需要变革,变革就会带来阻力和问题,最后,补充几个在管理中需要注意的地方:
- 寻常人由于能力有限、投入的精力少,有时候不可能看到未来的变化所带来的好处。
- 在推行一个新的流程或系统或新技术时,不要在意部分人的闲言碎语甚至冷嘲热讽,这些人在有成果时会抢功,在有风险时会避让。
- 真正做事及品格高贵的人,不会随波逐流;建立伟业的人,不会征求每一个人的意见。要能够识别关键的人才与角色。
- 作为一个团队或部门的领导,要始终兼顾其所属团队与部门的利益,平衡好企业利益。只要能够使企业受益,就不需要遵循传统,这也应该是企业战略的眼光。
- 我们要注意普通的人习惯于执行,而专家型人才由于受专业的限制,对于一些问题的思考会有一定的局限性,具体职位做具体的事,不必要讨论方针。
- 团队中大部分人只适合于执行与实践,智慧或贤明的人才能做决定,而这部分属于少数。所以我们在重大项目讨论决策时,一定要缩少讨论的范围,只让可以决策的人参与。
以上是近期听《史记》中关于秦朝商鞅(公孙鞅)变法时归纳的几点,在职场无论您职位如何,可以视为领导(领导团队或自己),挑战无处不在。
最后,借用链家创始人左晖先生的一句话“做难而且正确的事”,期望每个想成为管理者的人在职业生涯中都会有一个不错的发展,感谢您的阅读!