绿色网站风格郑州网站开发汉狮
一、使用到的资源
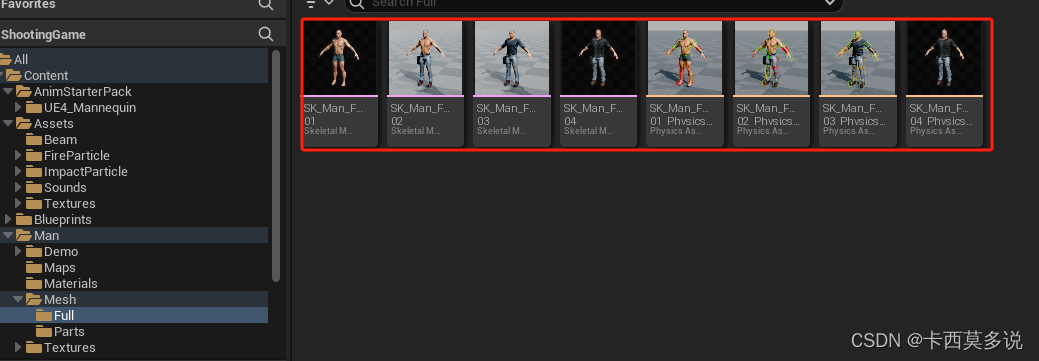
1.小白人动画包

2.基础武器包

3.虚幻商城免费的模型包
二、角色创建
1.以Character为基类创建出需要的角色,双击打开之后并在已有组件的基础上,添加摄像机臂和摄像机两个组件。添加完成之后可以根据自己的需要调整摄像机臂的位置,让角色在场景里面比较好的显示出来。
附上我自己调整的显示窗口作为参考:

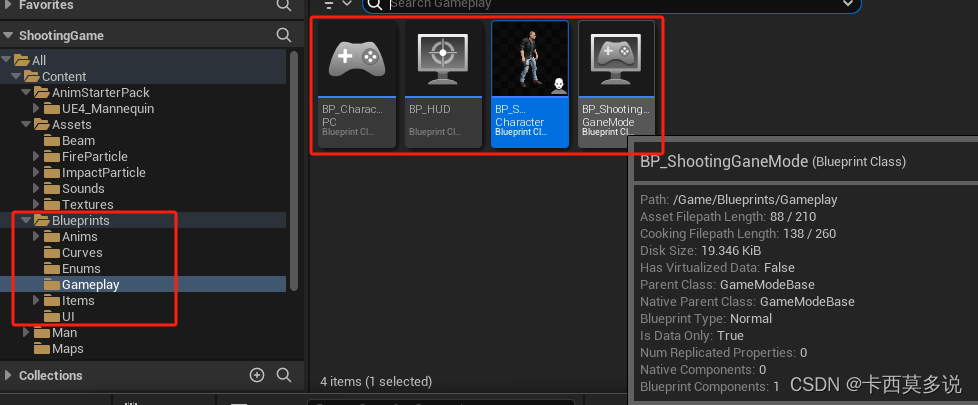
2.创建一些自己的蓝图类,比如GameMode、PlayerController、HUD等,建议在做自己的案例的时候,把各个文件分一下位置,防止比较乱,最后自己也找不到自己创建的蓝图类在哪里。
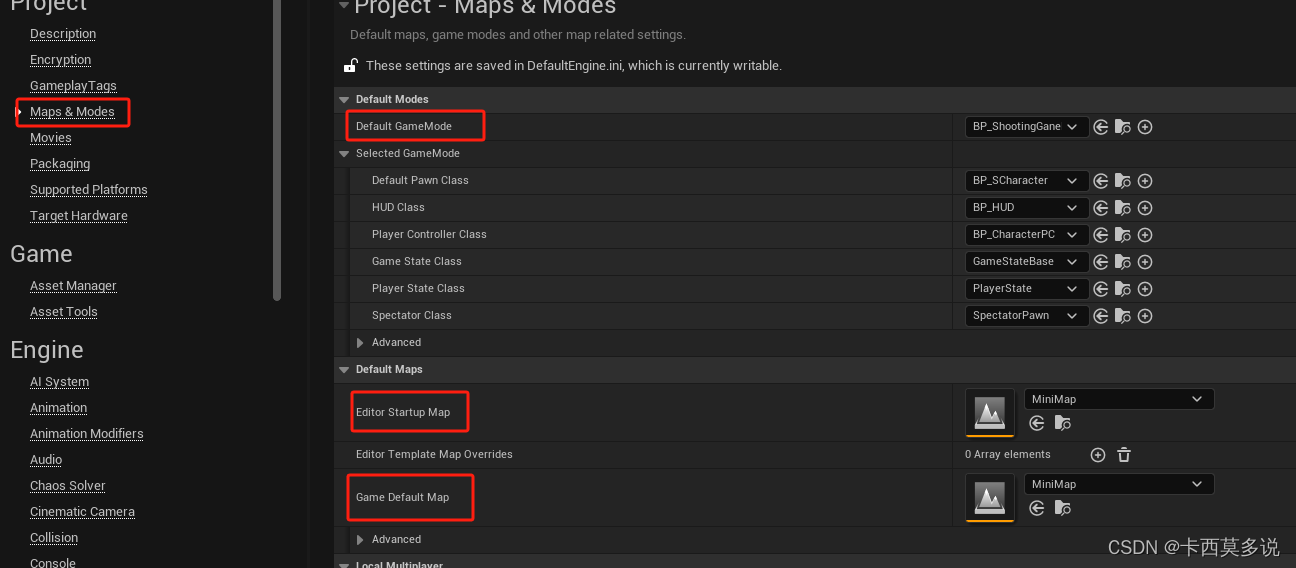
3.项目设置,打开项目设置,找到地图和模式,将默认的GameMode设置为自己的,并将默认Pawn类,HUD,以及玩家控制器设置为自己创建的;编辑器开始地图和游戏默认地图也设置为自己创建的。
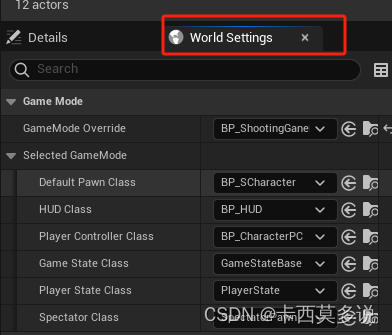
如果设置完这些之后,运行没有显示角色类,找到世界设置,在世界设置里面设置下。
4.编辑器按键设置,在项目设置里面的输入模块,在这里并没有使用UE5特有的增强输入系统,还是按照UE4原有的轴绑定和按键绑定,增强输入系统后面会单独发一篇。
可以先加一个角色前后左右走和上下左右看,以及跳跃的输入绑定。
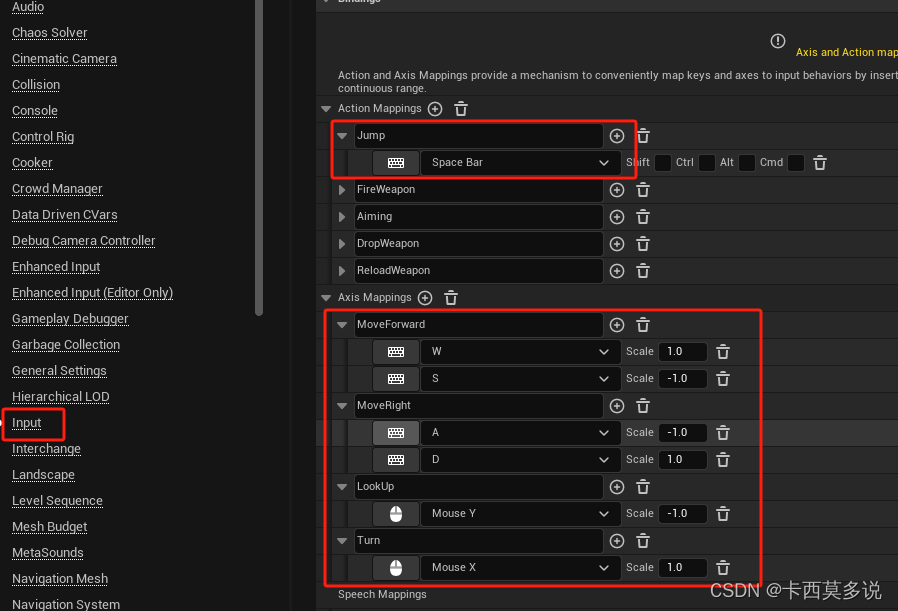
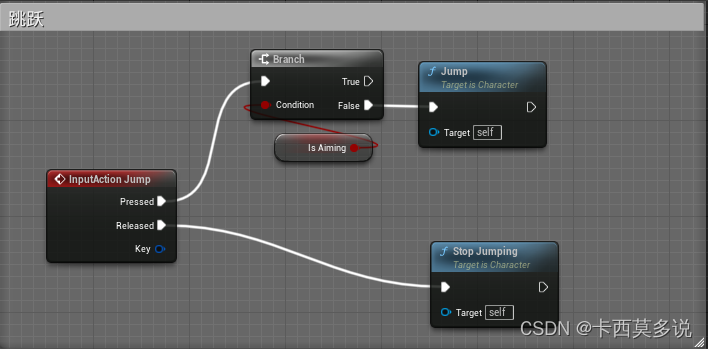
5.角色前后左右走以及上下左右看,跳跃的按键绑定。上下左右看这里我乘了两个变量,变量大小是0.25,这里的目的是防止上下左右看滑动的太快,可以根据自己的需要和感觉去处理。


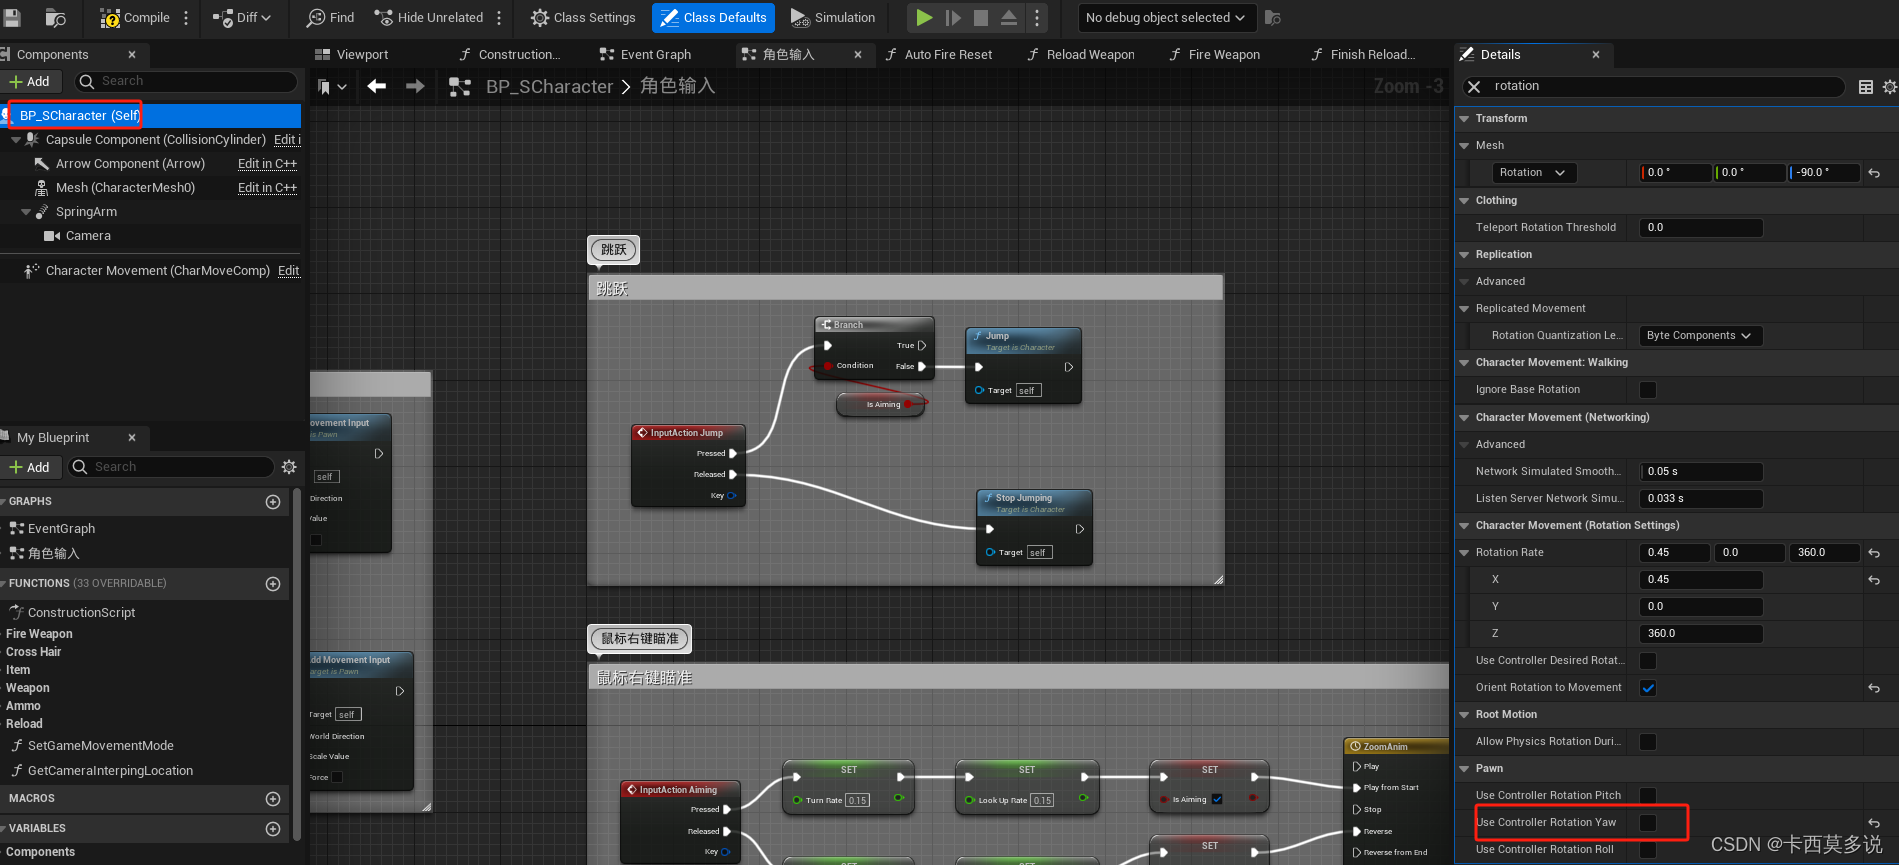
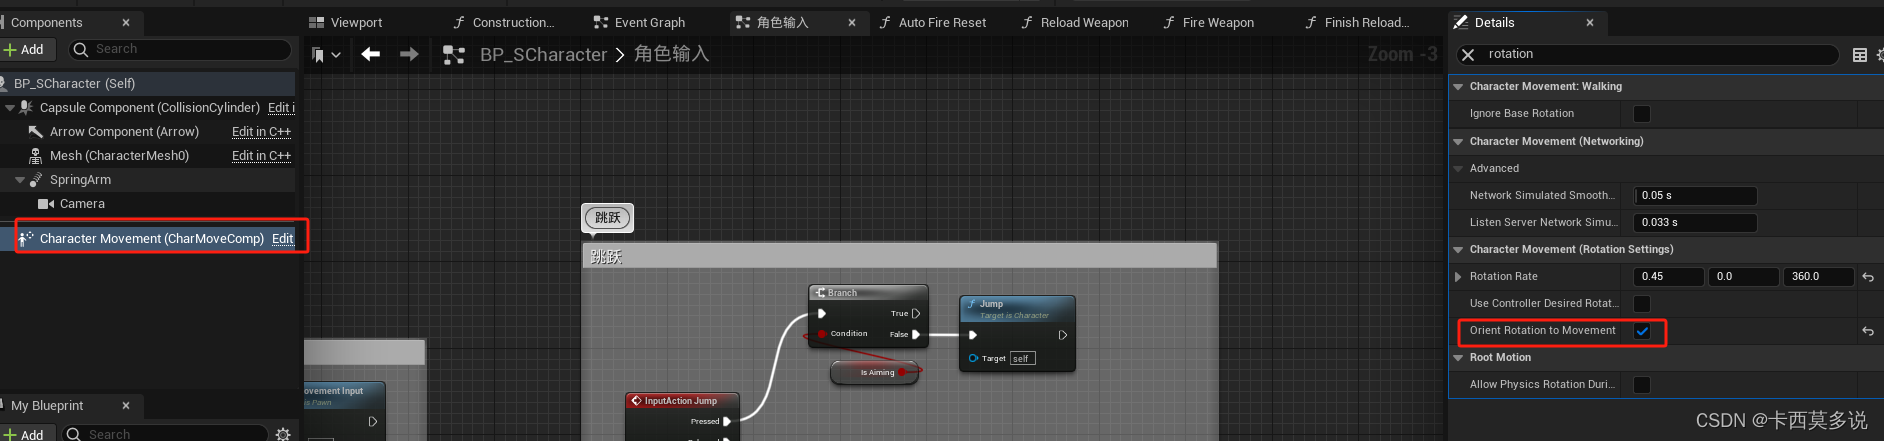
 完成到这里之后,运行我们的角色就可以移动了,如果运行之后角色不能上下看,将摄像机臂的UsePawnControlRotation勾选上,使用玩家控制器进行旋转,同时选择self,找到UseControllerRotationYaw选项取消勾选,这个时候就可以上下左右看了;不过此时角色是不会面朝我们进行移动,选择CharacterMovement,找到OrientRotationtoMovement选项勾选,角色在移动的时候就会朝向我们的按键方向,上面的RotationRate可以调整转向的速率。

6.创建角色蓝图。
创建角色蓝图是为了给角色添加动画,使用状态机让角色可以在各种动作之间进行顺滑转换。
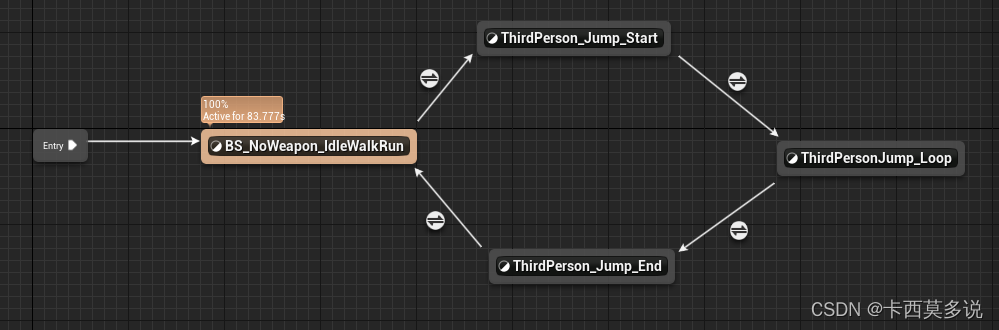
创建动画状态机并双击打开,添加各个动作之间的转化条件。
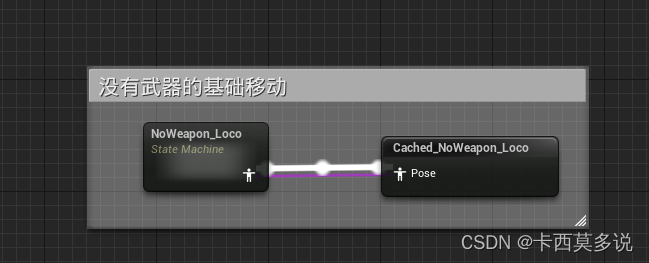
在动画状态机里面有一些是单个动画混合之后放进来进行动作转化的,这里不进行详细说明,创建混合动画的步骤跟UE4没有太大差别,没有做过混合动画的可以去我UE4的文章里去参考下。
在动画蓝图中对角色的一些参数进行获取,比如角色的移动速度,以及只包含XY方向的速度。

在角色类中赋值动画蓝图类即可。
