网站构架图怎么做wordpress反复输入密码
文章目录
- 前言
- 一、概览
- 二、使用功能
- 1.加快销售速度
- 2.销售线索
- 3.机会
- 4.客户
- 5.高效沟通
- 6.报告
- 7.集成
- 三、总结
前言
世界排名第一的免费开源ERP: Odoo 16 CRM客户关系管理系统。真正以客户为中心的CRM。
一、概览
获得准确预测
使用可操作数据,以做出更好的决定。
获得做出更明智决策所需的见解。
设计自定义仪表板,一目了然地了解您的业务情况。
深入挖掘任何人都可以创建和共享的实时报告和流程图。

完成任务 用时更短
给力的工具=高效的员工
根据销售文稿安排活动:电话、会议、邮件和报价。抓住机会直接获取所需的所有信息:查看的网站页面,收到的邮件等


实时概述
轻松回顾您的业绩&接下来的活动。
对比您的每月目标,准确了解您的表现。
根据您安排的下一行动,组织您的工作。
保持与客户的连接
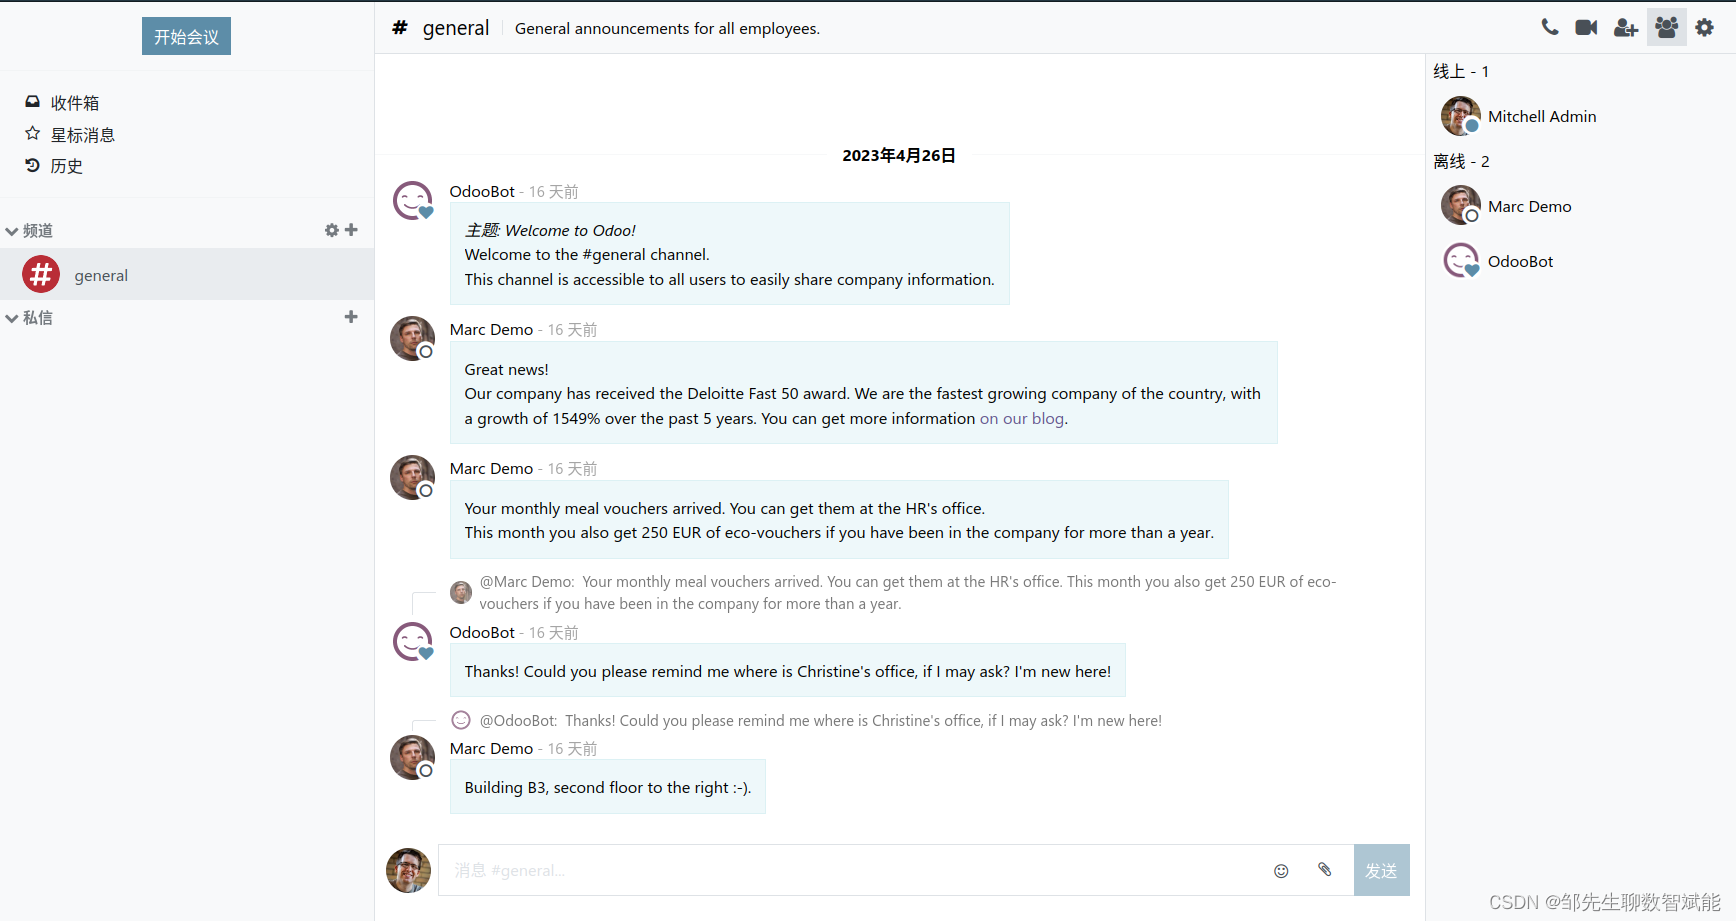
实时发送消息以增强协作。
快速概览团队正在开展的事宜。查看同事何时记录通话或发送报价。实时共享想法和文档,并补做您不在时错过的事宜。
二、使用功能
1.加快销售速度
现代化用户界面
专门为销售人员设计的直观用户界面。统计面板有利于更好地了解销售活动。用于配置和部署您的客户关系管理的有用提示和最佳实践。
移动
使用Odoo的手机用户界面在旅途中销售。
减少数据录入
获取从电子邮件、VoIP呼叫自动创建的潜在客户。只需数次点击,即可发送报价,使用拖&放等功能管理您的渠道。
大屏幕视图
大屏幕的优化视图,左侧是机会形式,右侧是可滚动的聊天。
2.销售线索
销售线索培育
创建促销活动,以便自动发送针对销售线索细分和销售线索活动定制的电子邮件。
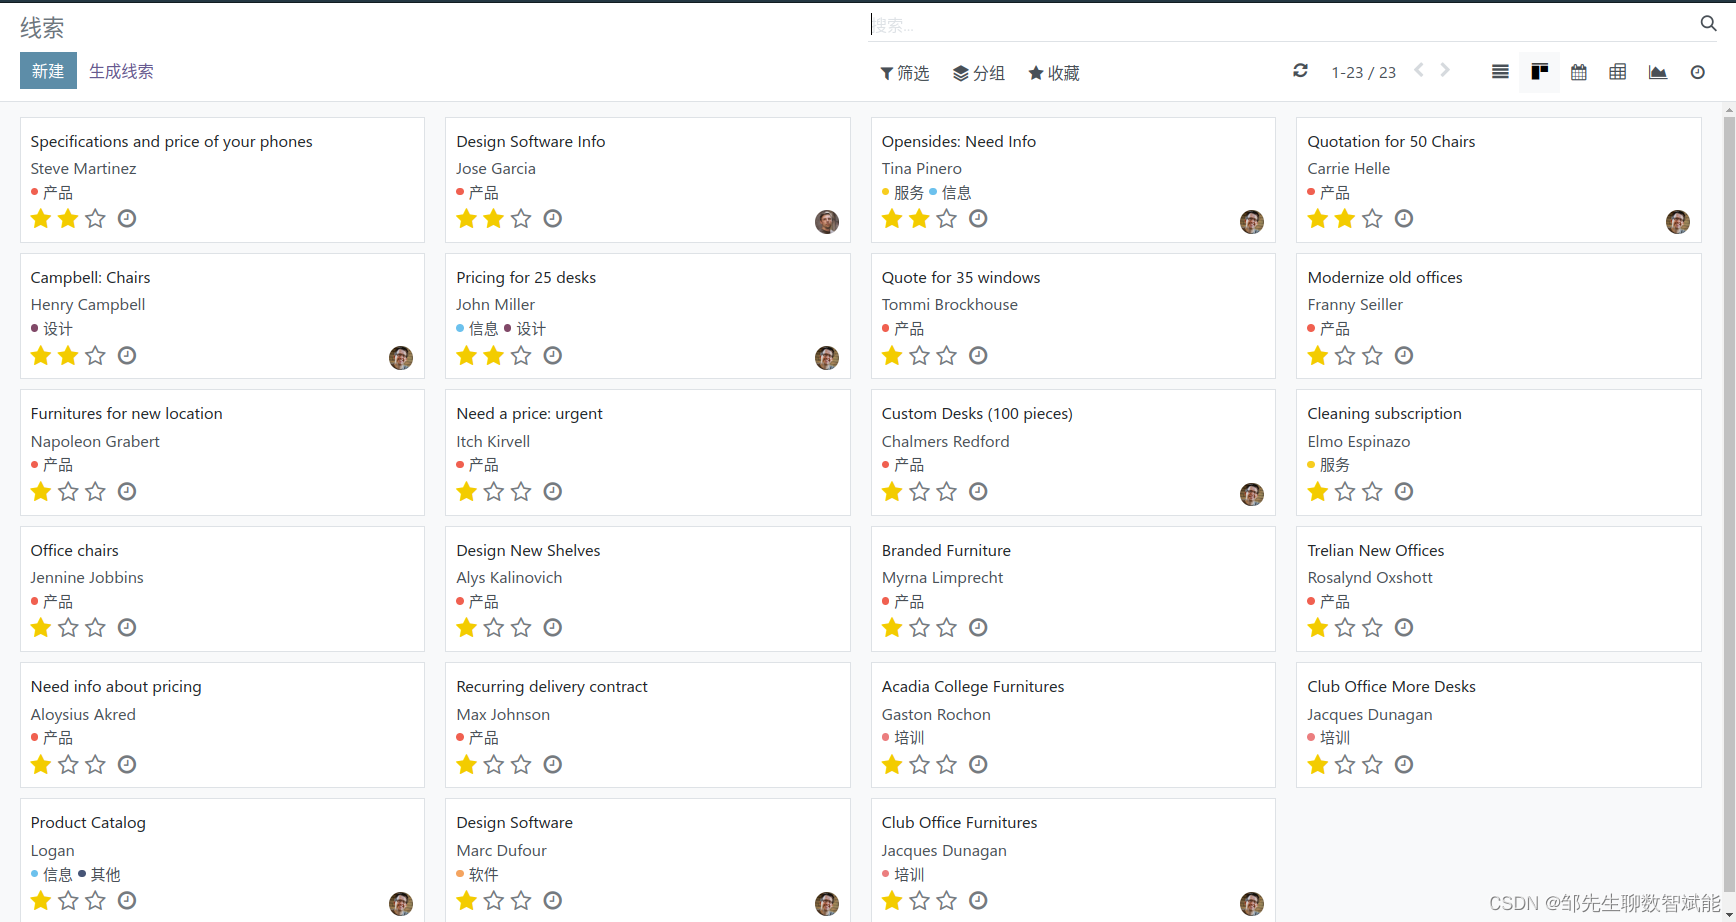
销售线索评分
根据显式和隐式标准(查看的页面、本地化、时间)对潜在客户进行评分。根据领先得分和团队分配规则定义不同的行动。确定可以转化为商机的总得分。
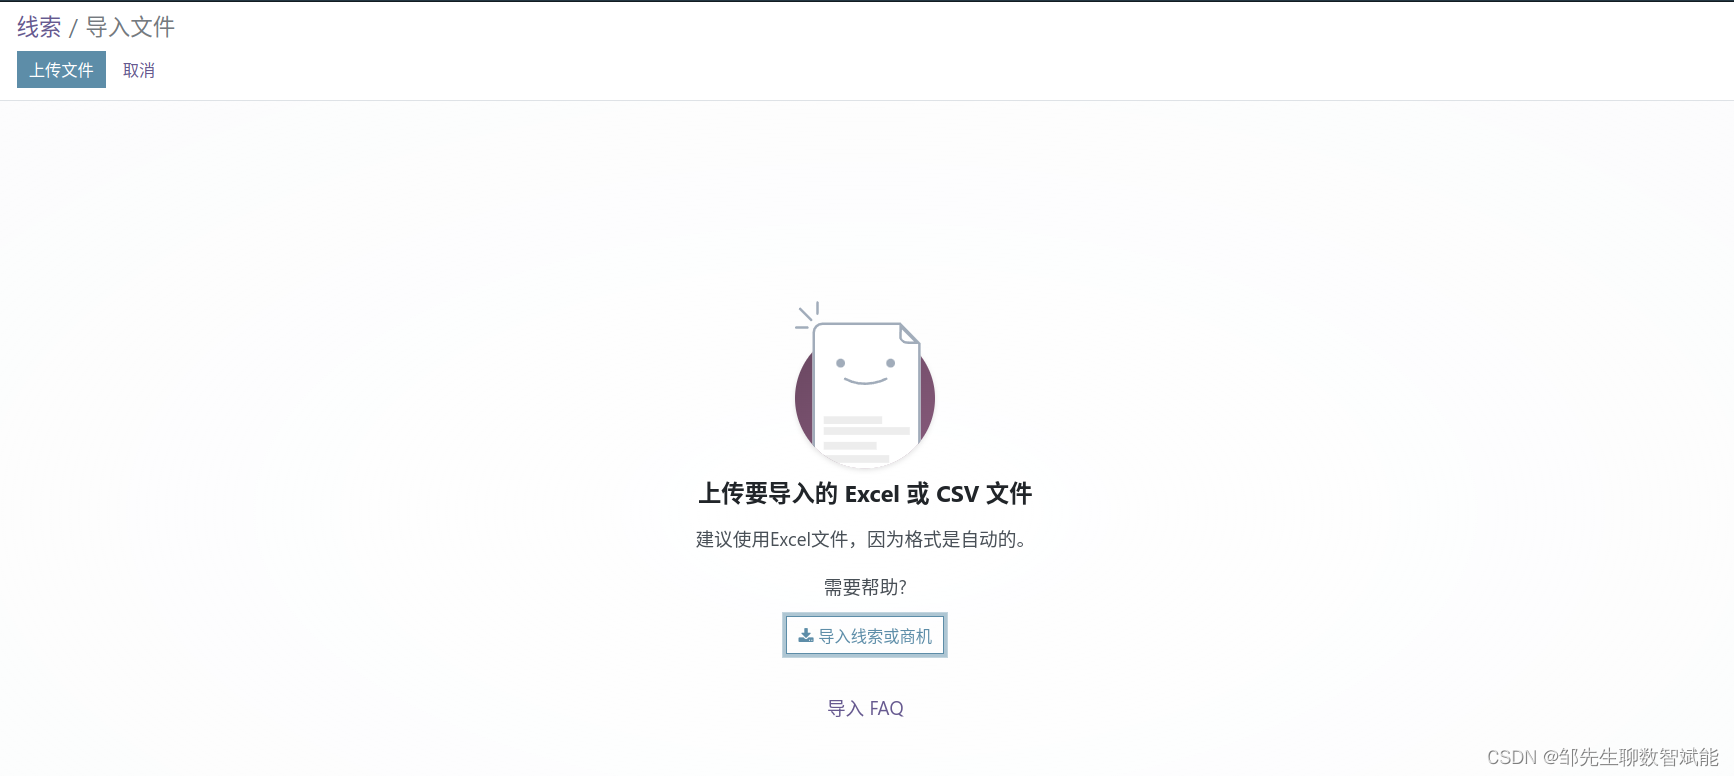
导入销售线索
通过 Odoo 的列匹配工具,轻松导入潜在客户的文件。
网上采购
获得 30 多款营销应用来促进您网站上的销售线索获取:搜索引擎优化工具、SEA、表单生成器等。
GeoIP
通过访客的 IP 地址自动检测销售线索的所在国家、州/省和城市。
在线客服
在您的网站上激活 Odoo 在线客服,与您网站的访客交谈,并将其转换为销售线索。可以为主要国家或页面定义规则。
删除重复内容
获得销售线索提议并在将销售线索转换为机会时合并。根据销售线索自动创建联系人。
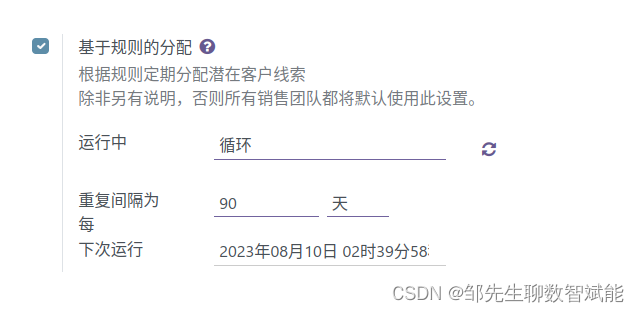
分配规则
定义自己的规则,以便根据配额和细分将销售线索分配给适当的销售团队或销售人员。
行动号召
利用 Odoo 的五大行动号召和 a/b 测试工具来优化销售线索获取。
URL 跟踪器
在所有市场营销活动中,利用 UTM 跟踪器来跟踪销售线索来源。
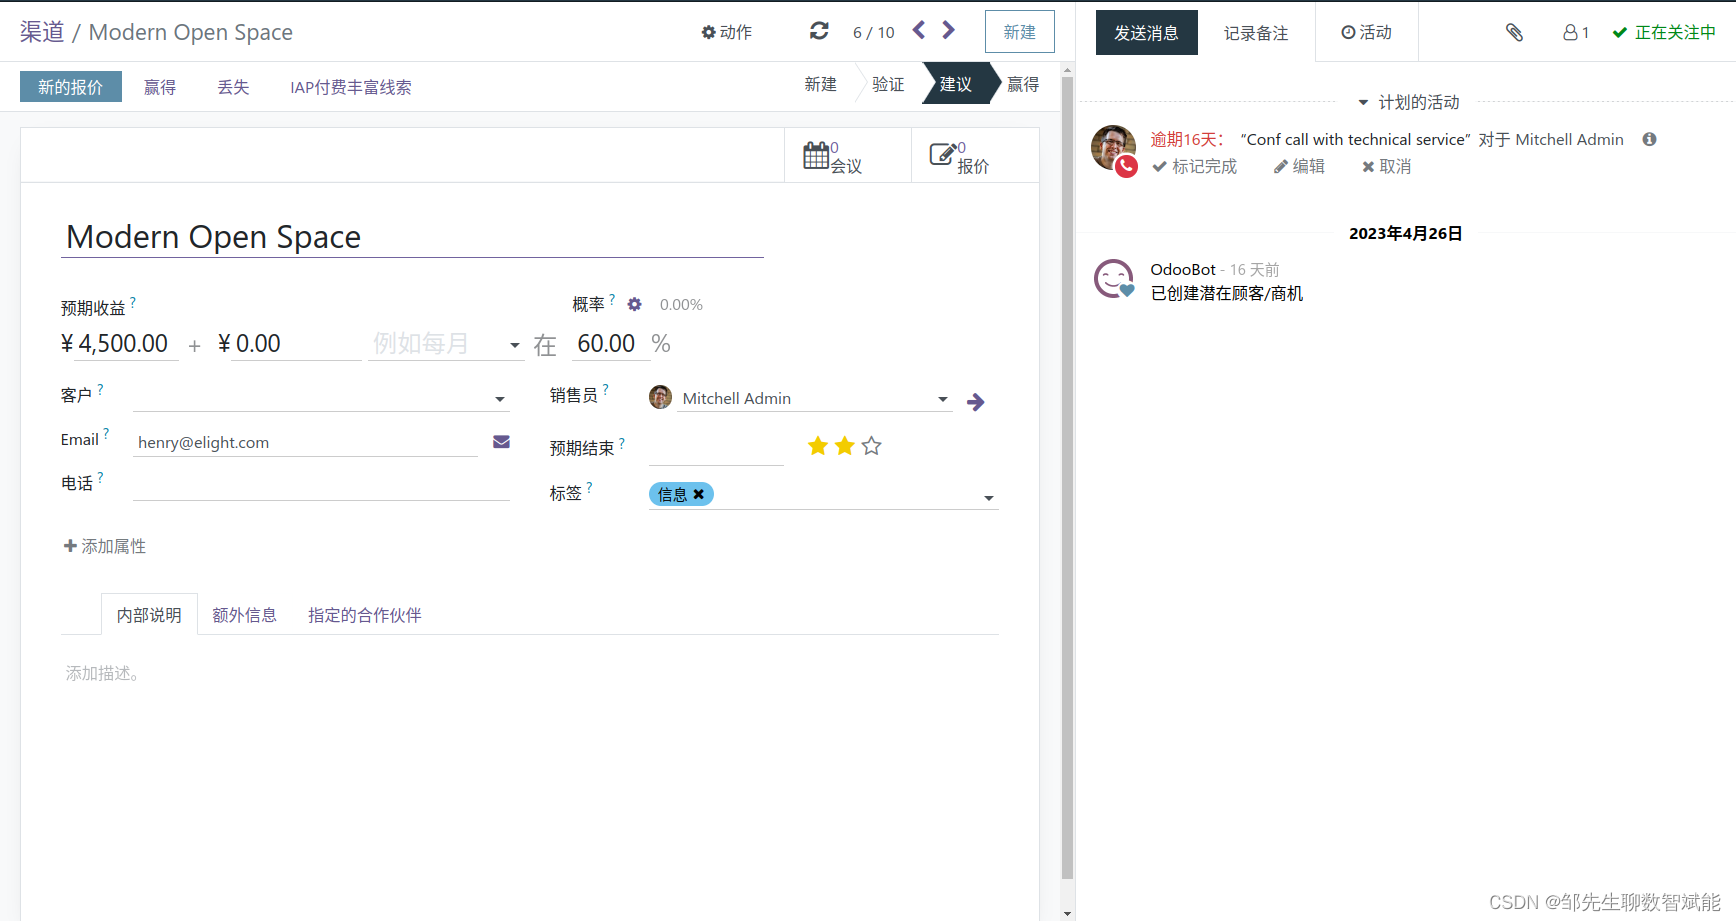
3.机会
活动和呼叫管理
根据机会组织活动顺序。安排活动时间。按照预定义操作,立即在机会栏记录每项活动。跟踪、记录并分析团队的活动。
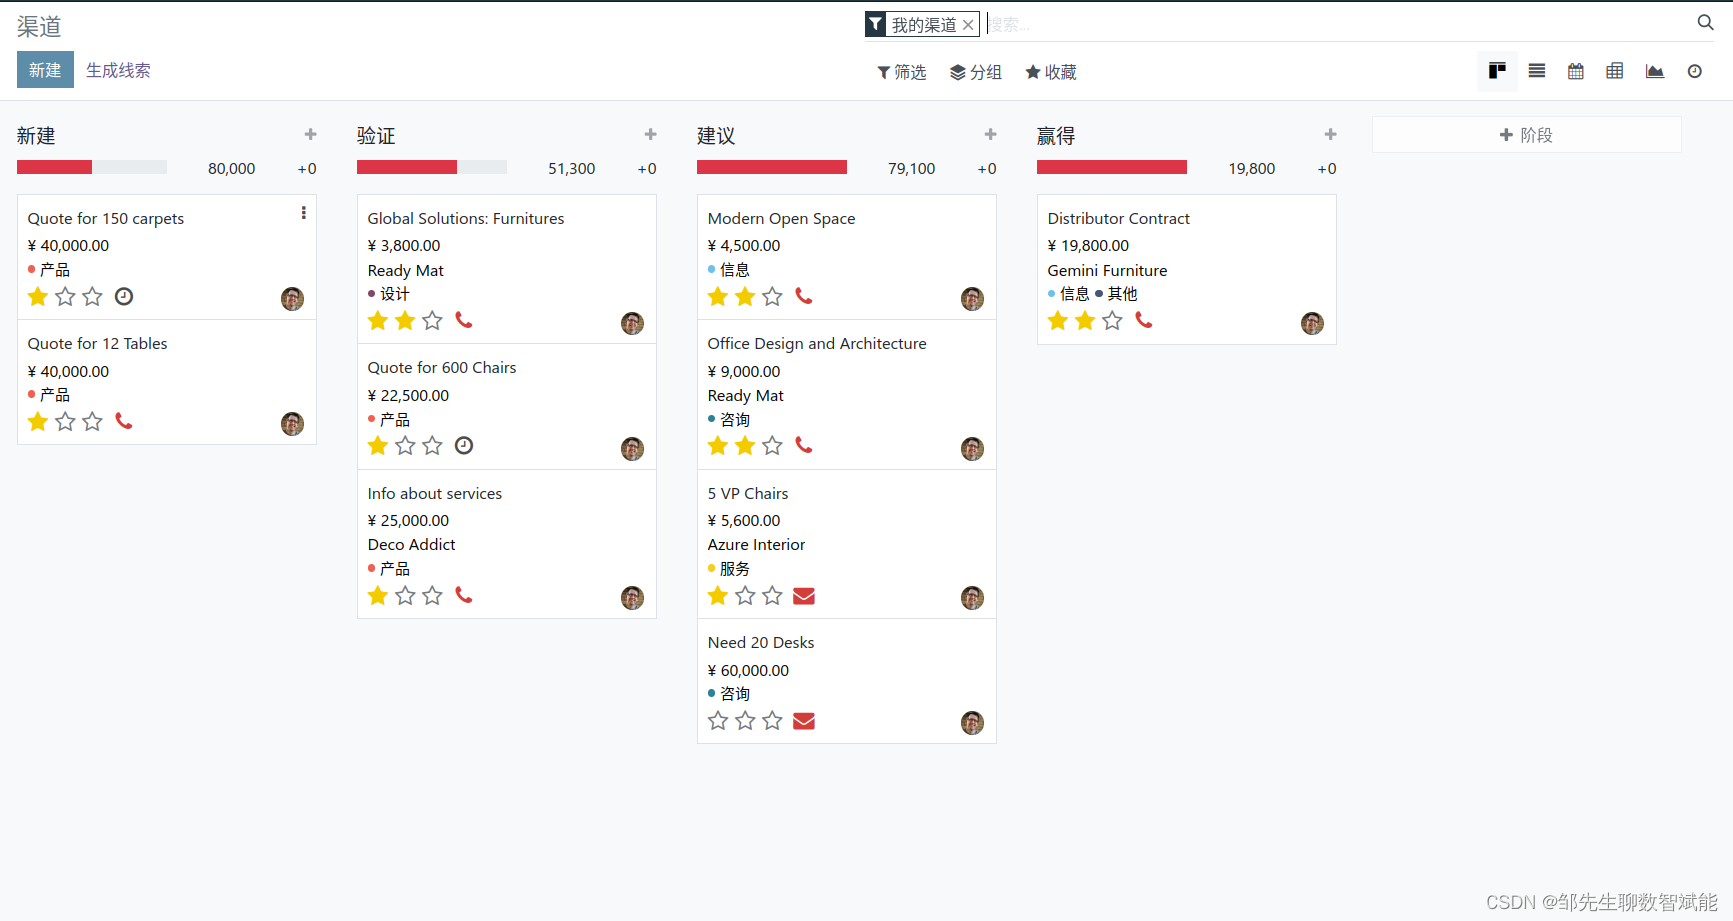
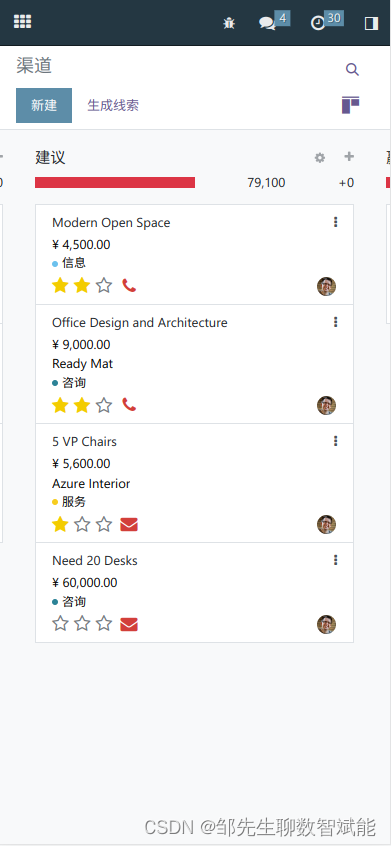
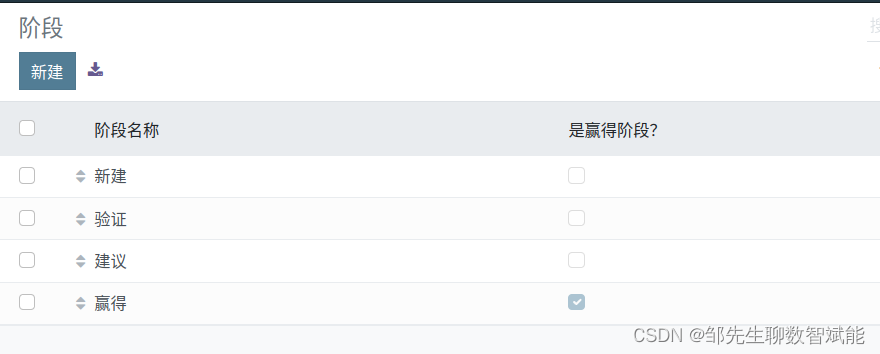
管道管理
清楚了解机遇渠道。使用拖&放界面,加快工作速度。为各销售团队设置特定阶段。创建子阶段,更好组织流程的可能性。自动归档丢失的机遇。手动归档其他机遇。丢失不再是阶段,而是独立领域,对渠道进行更深入的分析,例如,各阶段的丢失比率。
自定义阶段
添加关于阶段的说明,自定义您的销售管道。
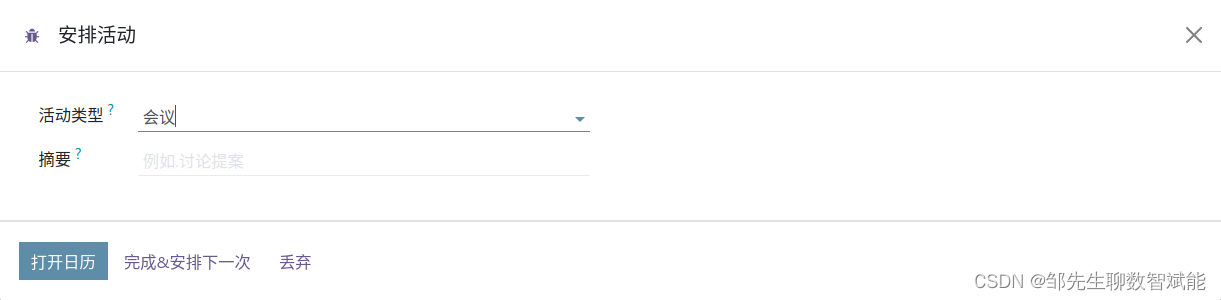
安排会议
通过客户机会安排会议。使用手机和 Google 日历进行同步。
计划下一行动
根据最重要的机会和任务,计划下一行动并安排您的日常工作。

360° 全方位可见性
获得关于该机会的所有信息:在网站中访问的页面、邮件、会议、后续行动、进行中的订单等。
记录通话
轻击几下,记录通话或触发 VoIP 通话。Odoo 提议自动重新计划通话后的下一行动。
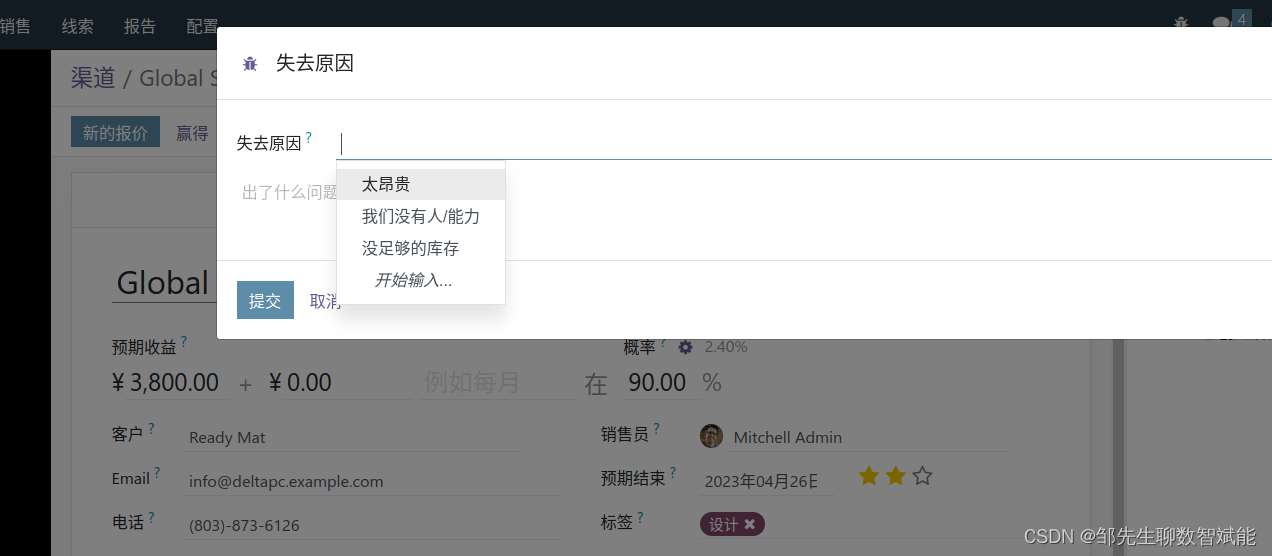
丢失原因
分析您失去机会的原因,以提高您的销售绩效。
修改配置选项
若有必要,激活销售线索。
4.客户
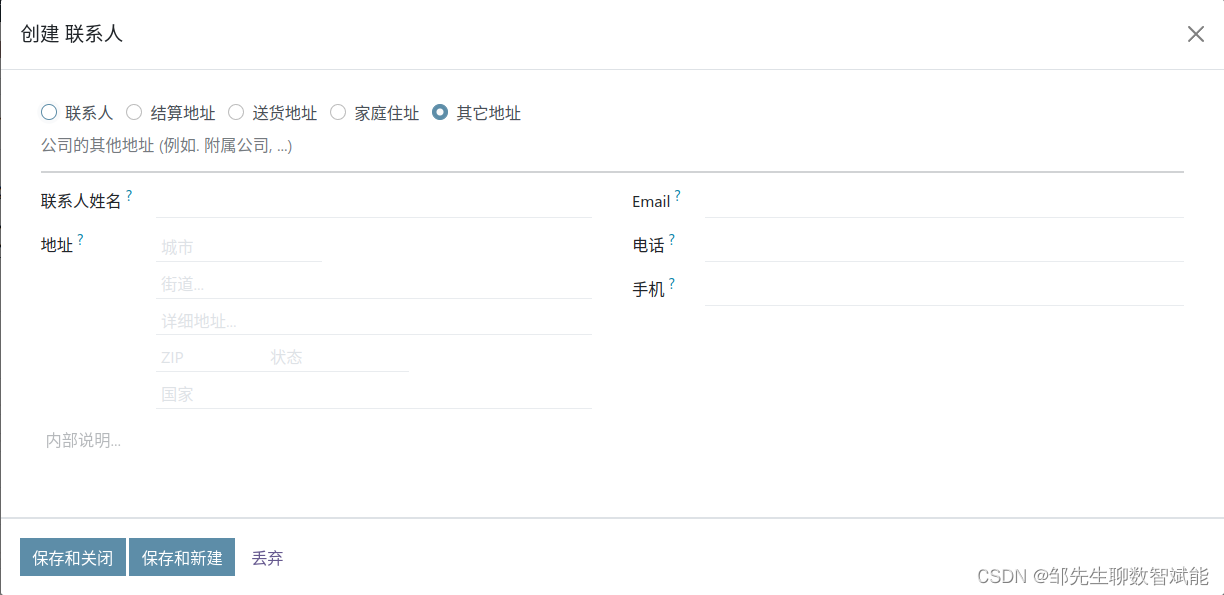
地址簿
获得可在销售人员间共享的清晰地址簿。
客户首选项
轻松设置客户首选项:语言、交付方式、财务数据等。
多个地址
为一家公司设置多个地址和联系人。
完整历史记录
获取任何客户的全部活动历史记录:机会、订单、发票、应付款总额等。
5.高效沟通
电子邮件模板
创建电子邮件模板,用于与您的客户或机会进行的最常见沟通。
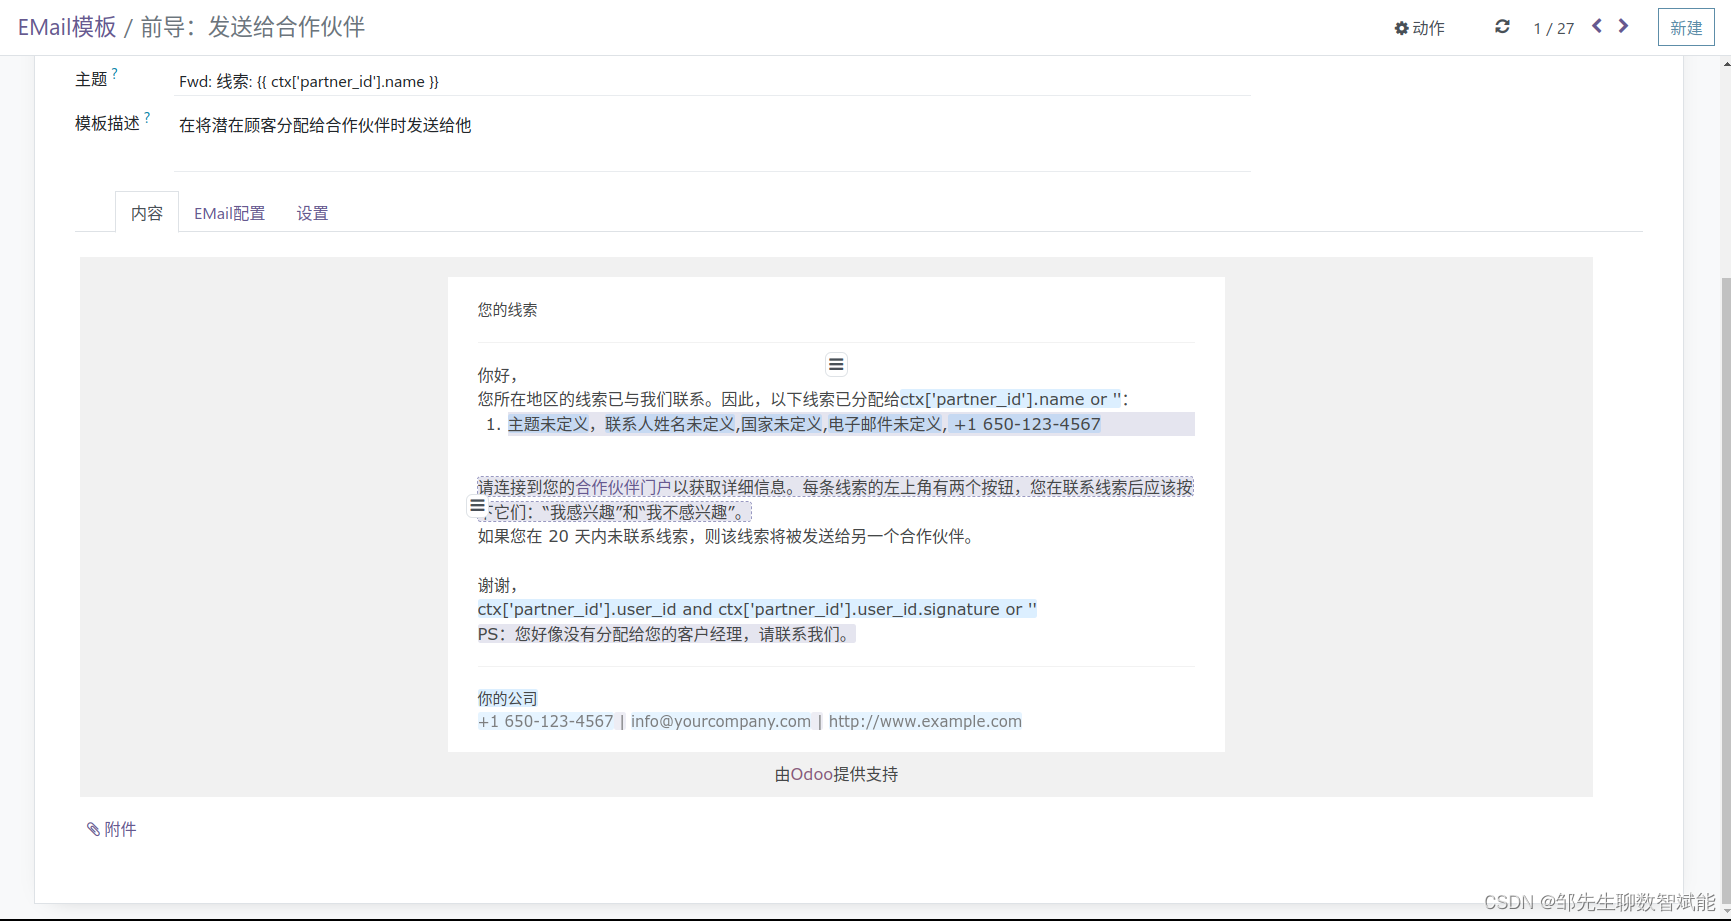
电子邮件网关
让您的所有电子邮件通讯自动附加至适当的机会。根据收到的电子邮件,自动创建新的销售线索。
VoIP
创建客户或潜在客户的拨号队列,自动或手动从浏览器呼叫。自动记录呼叫,打开客户表单,自动执行下一步操作等。如果呼叫失败,则重新安排或发送电子邮件。生成用于接收呼叫的自动弹窗。与Asterisk v13.2 VOIP服务器集成。
自定义提醒
只需轻轻一击,即可跟踪关键机会,并根据相关活动获得提醒。
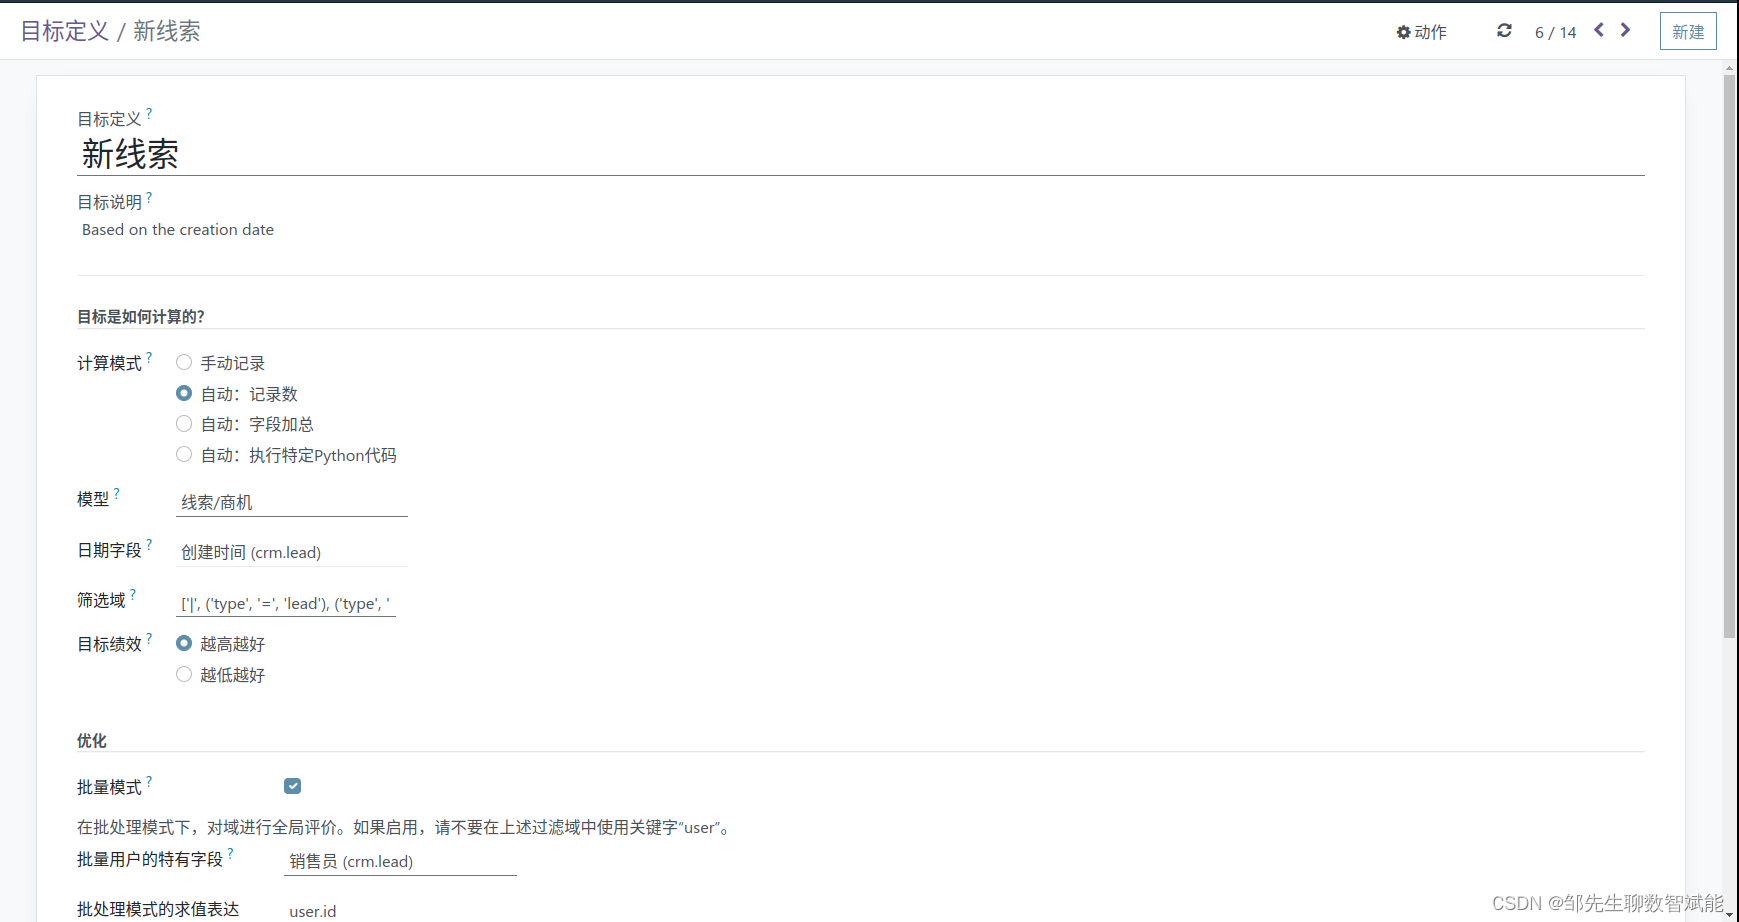
6.报告
仪表板
使用预定义的统计面板,或利用高级报告引擎构建自己的统计面板。与团队共享筛选器。
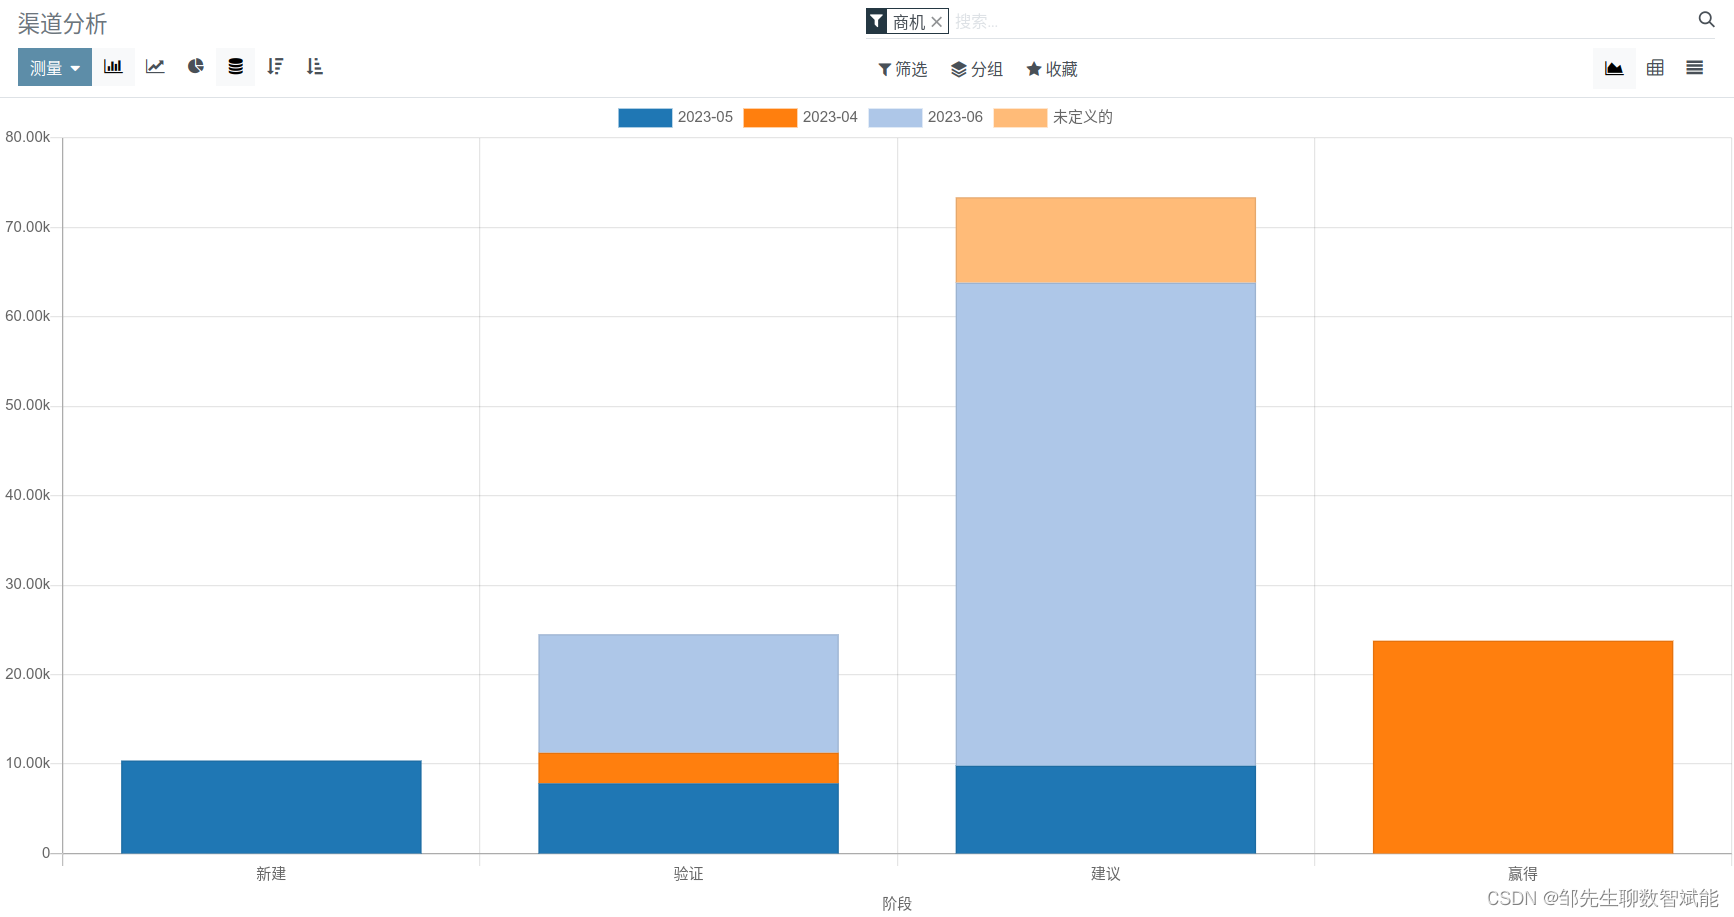
机会分析
使用高级筛选、分组、向下追溯等方法分析您的销售机会渠道。
同级分析
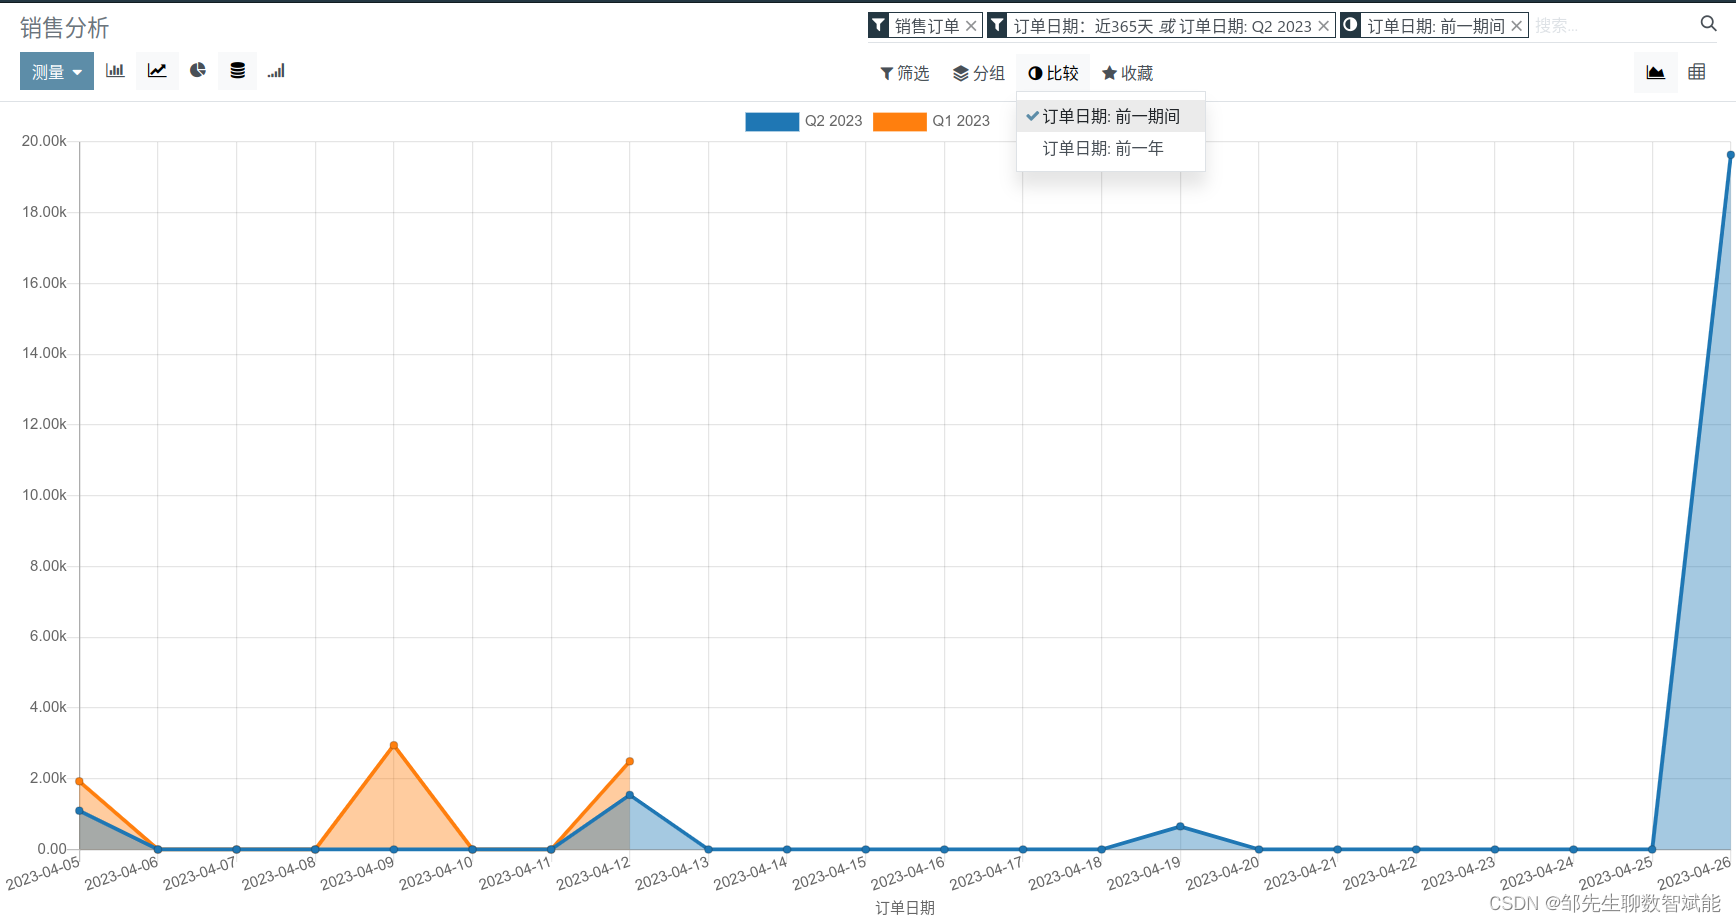
随着时间的推移跟踪KPI的演变并检测趋势。
销售线索分析
获得关于您销售线索来源的统计数据,以评估您营销活动的投资回报率。
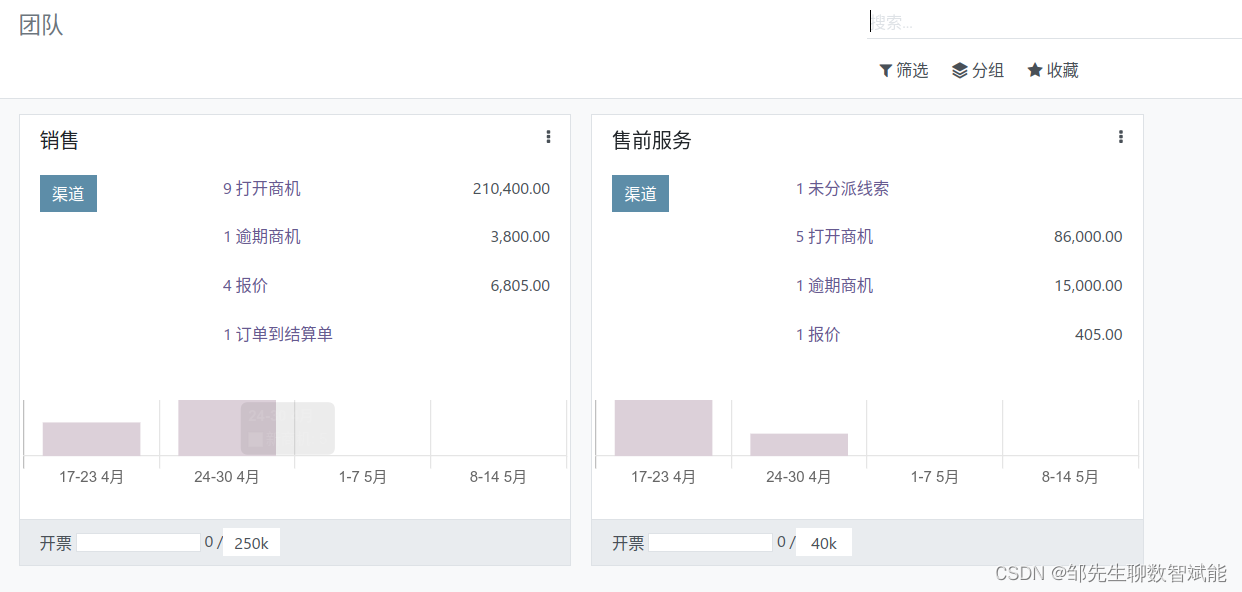
CRM 仪表板
可视化您的销售团队KPI一目了然。

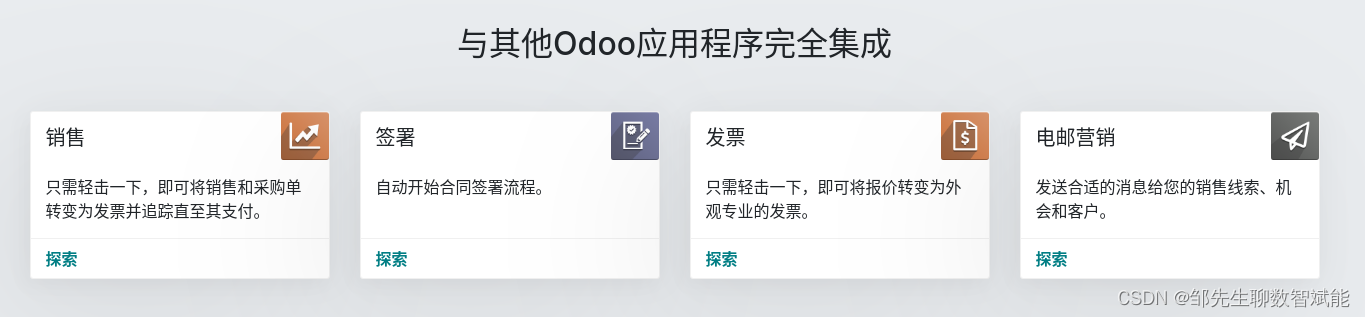
7.集成
销售
只需轻击几下,即可将机会转换为报价。获取客户历史记录的完整概述。
库存
在报价单内提供产品可用性信息。触发交货单并查看订单的交货状态。
强大的 API
利用 API 使 Odoo CRM 执行几乎所有操作:连接其他软件、自动创建销售线索等。
Google Docs(文档)
利用 Google Docs 集成链接任意文档至您的机会:资格评定表格、高级价目表……
所有销售渠道
整合您的所有销售渠道:在线销售(电子商务)、内部销售 (客户关系管理)和店内(销售点).
营销应用
通过 Odoo 的市场营销应用加快销售线索的获取与培育: 电子邮件营销, 活动管理, URL 跟踪器、登录页面等
三、总结
整体演进思路:追踪销售线索、接近成功的机会并获得准确预测。