广州建网站兴田德润可信开发html网页的软件
专有钉钉是浙政钉的测试版本,可在正式发布之前进行业务开发。
专有钉钉 原名政务钉钉 是高安全、强管控、灵活开放的面向大型组织专有独享的协同办公平台。支持专有云、混合云等多种方式灵活部署,以满足客户特定场景所需为目标,最大化以“平台产品”特色能力助力客户本地业务的一体化协同和管理,高效及高速良性运行。
简单来说,就是专有钉钉是升级版钉钉,而浙政钉则是专有钉钉 saas 化部署的一个特殊租户#
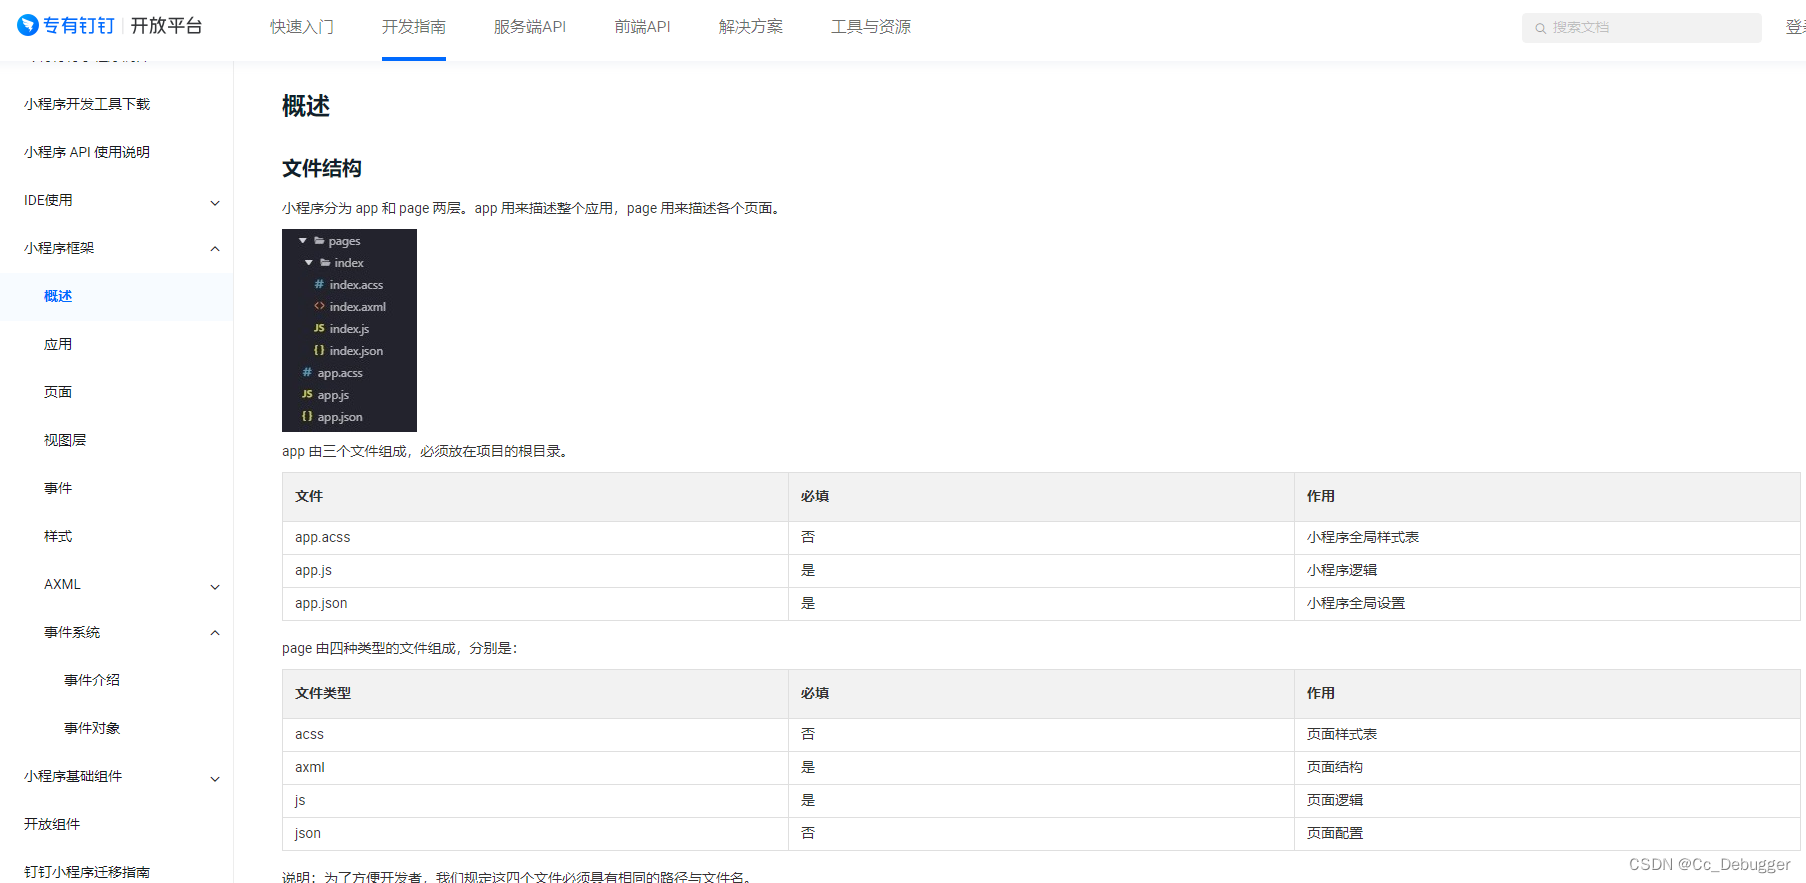
小程序框架
小程序 API 使用说明
专有钉钉小程序的接口调用方式支持2种调用方式,
方式一:引入 JSAPI 的方式,
方式二:通过 my 的方式进行调用。这两种方式各有各有的优势,主要区别如下:
方式一调用方式是返回的 Promise,更符合编码习惯
方式二可以不用单独引入 JSAPI,基础 API 可以直接使用,调用是 callback 的方式
注意:通过 my 的方式调用,只支持基本的 API,开放能力相关的 API 还是需要通过引入 JSAPI 的方式调用
方式一和方式二的使用方式示例如下:
// 方式一
import dd from 'gdt-jsapi'
dd.getLocation().then(ret => {console.log(ret)
}).catch(err => {console.error(err)
})
// 方式二,不需要引入,直接使用 my 进行调用
my.getLocation({success (ret) {console.log(ret)},fail (err) {console.error(err)        }
})
两种方式都可以进行使用,主要按自己的开发需要来选择即可。
专有钉钉文档都是推荐方式一的方式进行使用,如果您想使用方式二的方式来进行调用,只要将 Promise 的调用改成 callback 即可。
安装
在项目根目录下执行
npm install gdt-jsapi
推荐使用 npm 包形式按需引入
使用介绍
小程序可以通过以下方式进行引入
import dd from 'gdt-jsapi';dd.alert({message: 'hello world'
}).then(res = >{console.log(res);
}).
catch(err = >{console.error(err);
});
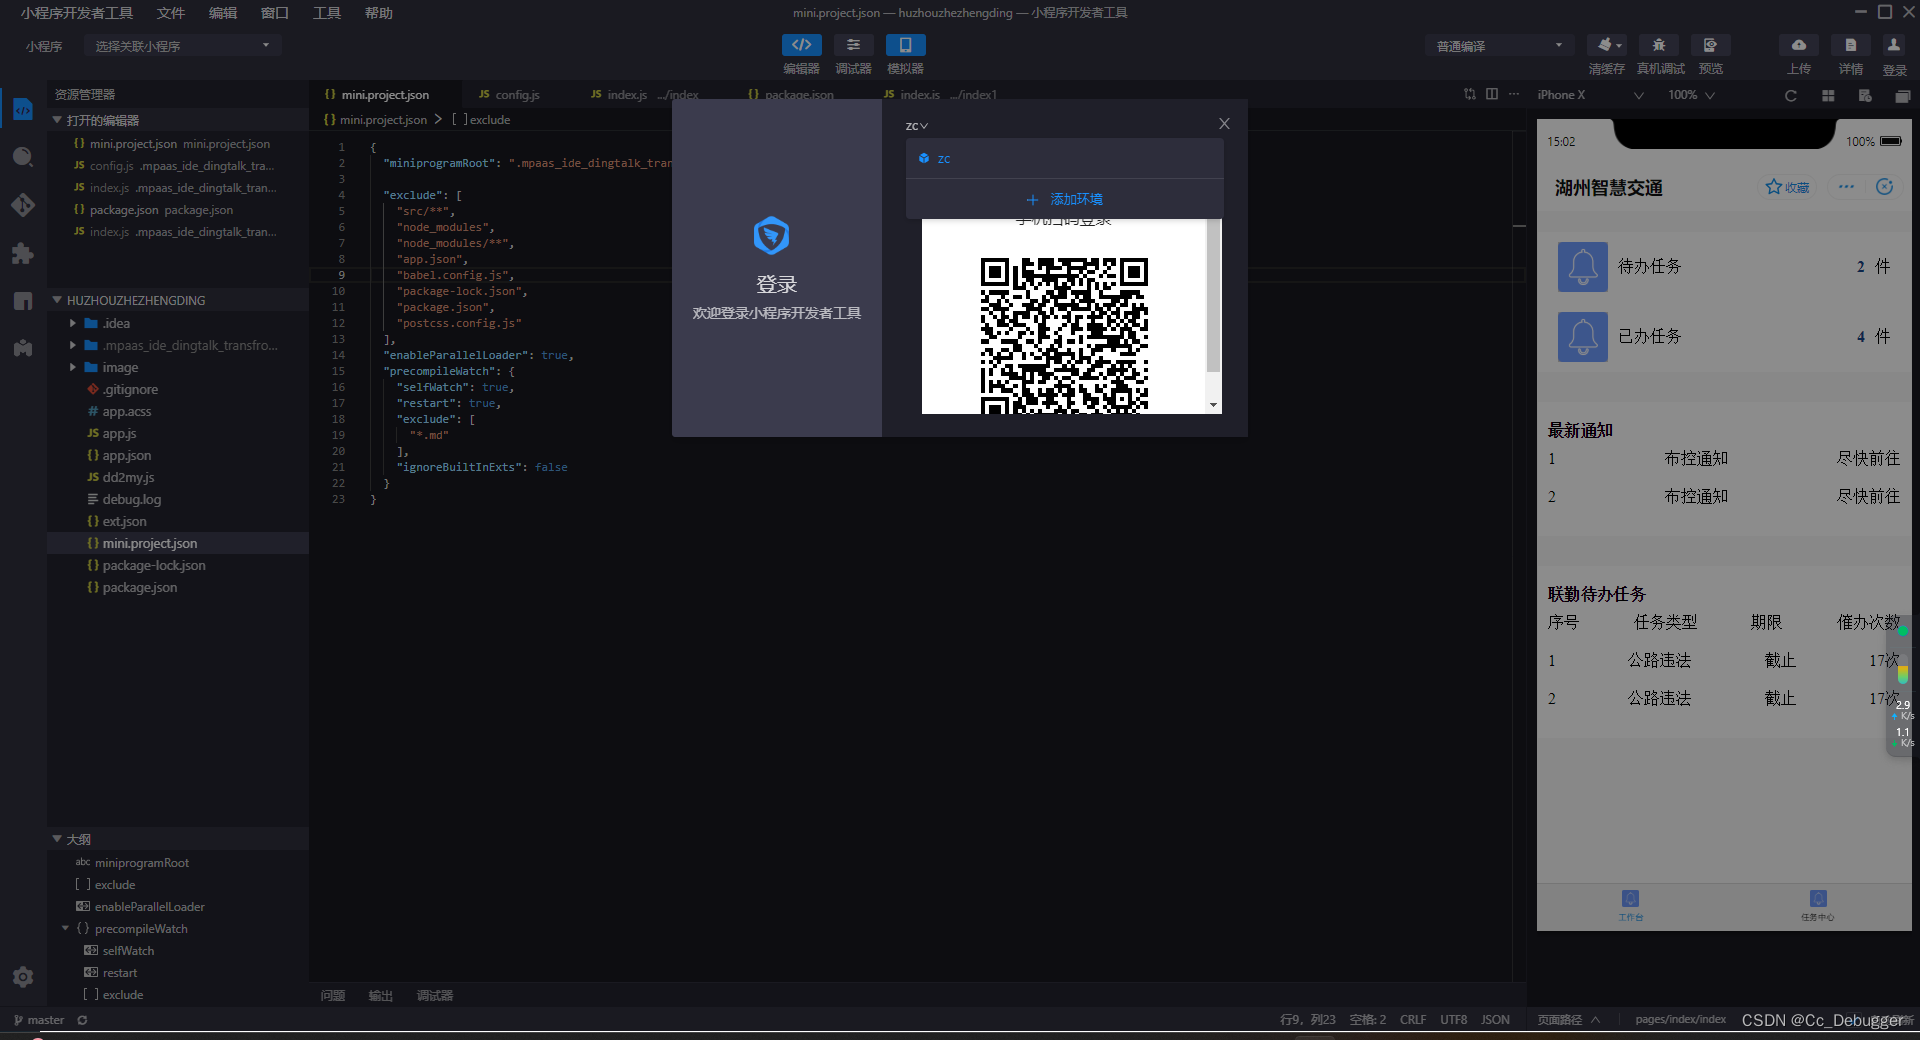
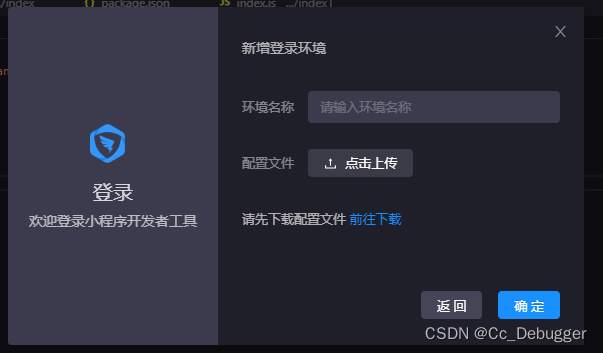
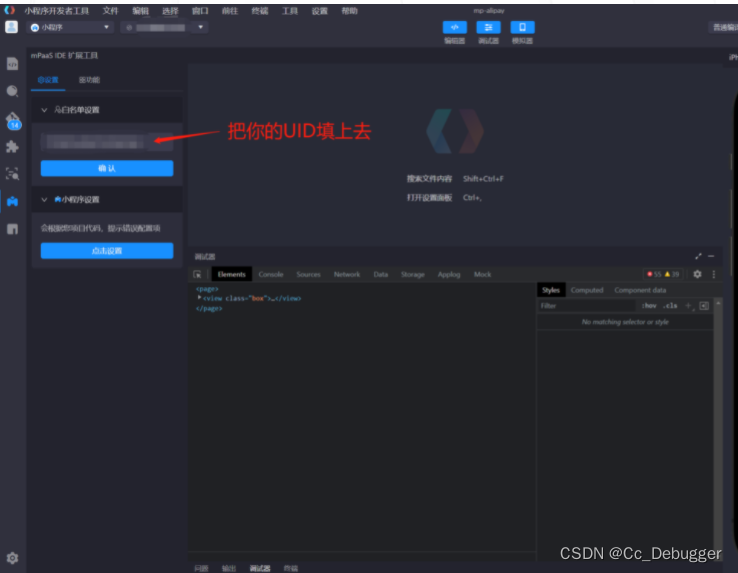
开发工具登录/配置环境
多个应用就关联自己要开发的应用

名称自定义,上传一下配置文件json/没有就点击下载配置文件下载
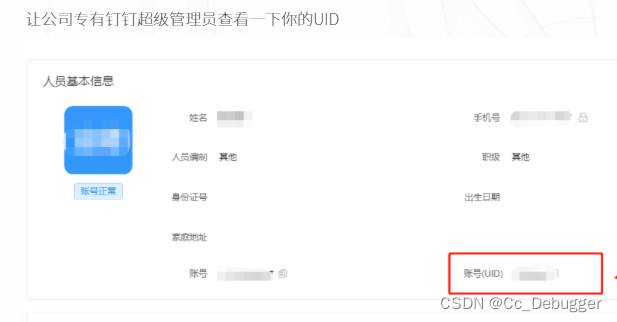
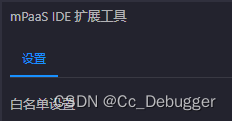
白名单设置,不设置无法真机调试
上传代码时报错
一般是项目配置错误/目录配置错误
