营销一型网站建设公司互联网科技公司做网站哪家好
要在JMeter中使用Python,需要使用JSR223 Sampler元素来执行Python脚本。使用JSR223 Sampler执行Python脚本时,需要确保已在JMeter中配置了Python解释器,并设置了正确的环境路径。
1、确保JMeter已安装Python解释器,并将解释器的路径添加到计算机的环境变量中。
2、在JMeter的lib目录中,创建一个新目录,用于存放Python解释器所需的库文件。
3、复制Python解释器的所有库文件(.jar文件)到刚创建的目录中。
4、重启JMeter以确保它能够找到Python解释器和相关的库文件。
5、在JMeter中添加JSR223 Sampler元素:
- 在测试计划中选择要添加JSR223 Sampler的线程组。
- 右键单击线程组,选择添加 -> Sampler -> JSR223 Sampler。
6、在JSR223 Sampler的"Script Language"选项中,选择使用的脚本语言为"python"。

7、在"Script"编辑框中编写Python脚本,使用合适的语法和逻辑。
8、使用vars对象来访问和设置JMeter的变量。可以在Python脚本中直接使用vars对象,它将自动与JMeter的变量进行交互。
下面是示例,演示了如何在JMeter中执行Python脚本:
import sys
from java.util import HashMap # 获取JMeter的变量
vars = HashMap() # 获取请求参数
param = vars.get("param") # 在控制台输出请求参数
sys.stdout.println("参数值为:" + param) # 将结果存储到JMeter的变量中
vars.put("result", "Success")
在这个示例中,首先导入sys和HashMap类。然后,创建一个名为vars的HashMap对象,以便在Python脚本中与JMeter的变量进行交互。
脚本获取名为"param"的JMeter变量的值,并在控制台上显示参数值。接下来,将结果(“Success”)存储到名为"result"的JMeter变量中。
注意,在使用Python脚本时,确保正确配置了Python解释器的环境和路径,并将所需的库文件放置在JMeter的lib目录中。这将确保Python脚本能够正常执行以及与JMeter的其他功能进行交互。
在JMeter中使用Python可以做很多事情:
1、数据处理和转换:
使用Python,可以对JMeter中捕获的响应数据进行处理和转换,例如提取特定的数据、解析JSON或XML响应、执行数据清洗等。
2、动态数据生成:
可以使用Python生成动态的测试数据,并将其集成到JMeter的请求参数中。例如,生成随机的用户名、电子邮件地址或其他类型的数据。
3、数据验证和断言:
使用Python的断言库,可以编写自定义的断言逻辑来验证响应数据,确保API响应符合预期。例如,使用Python的unittest库来编写断言逻辑。
4、定制化请求:
通过执行Python脚本,可以根据特定的测试需求修改请求参数或添加自定义的请求头。这样可以实现更高级的请求定制,例如携带特定的认证令牌、生成带有时间戳的请求等。
5、数据库操作:
使用Python的数据库库,可以连接到数据库并进行数据操作,例如插入测试数据、查询数据库中的数据,以及验证数据库的状态。
6、文件处理:
使用Python,可以读取和写入文件,处理文件上传和下载,以及执行其他与文件相关的操作。这对于模拟文件上传和下载的测试场景非常有用。
7、效果图生成:
使用Python的可视化库,例如Matplotlib或Seaborn,可以生成图表和效果图,对测试结果进行可视化分析和报告。
8、高级逻辑控制:
Python具有更强大的逻辑控制能力,可以编写复杂的测试逻辑,例如条件判断、循环、异常处理等。在需要进行高级场景模拟和流程控制的情况下非常有用。
感谢每一个认真阅读我文章的人!!!
作为一位过来人也是希望大家少走一些弯路,如果你不想再体验一次学习时找不到资料,没人解答问题,坚持几天便放弃的感受的话,在这里我给大家分享一些自动化测试的学习资源,希望能给你前进的路上带来帮助。
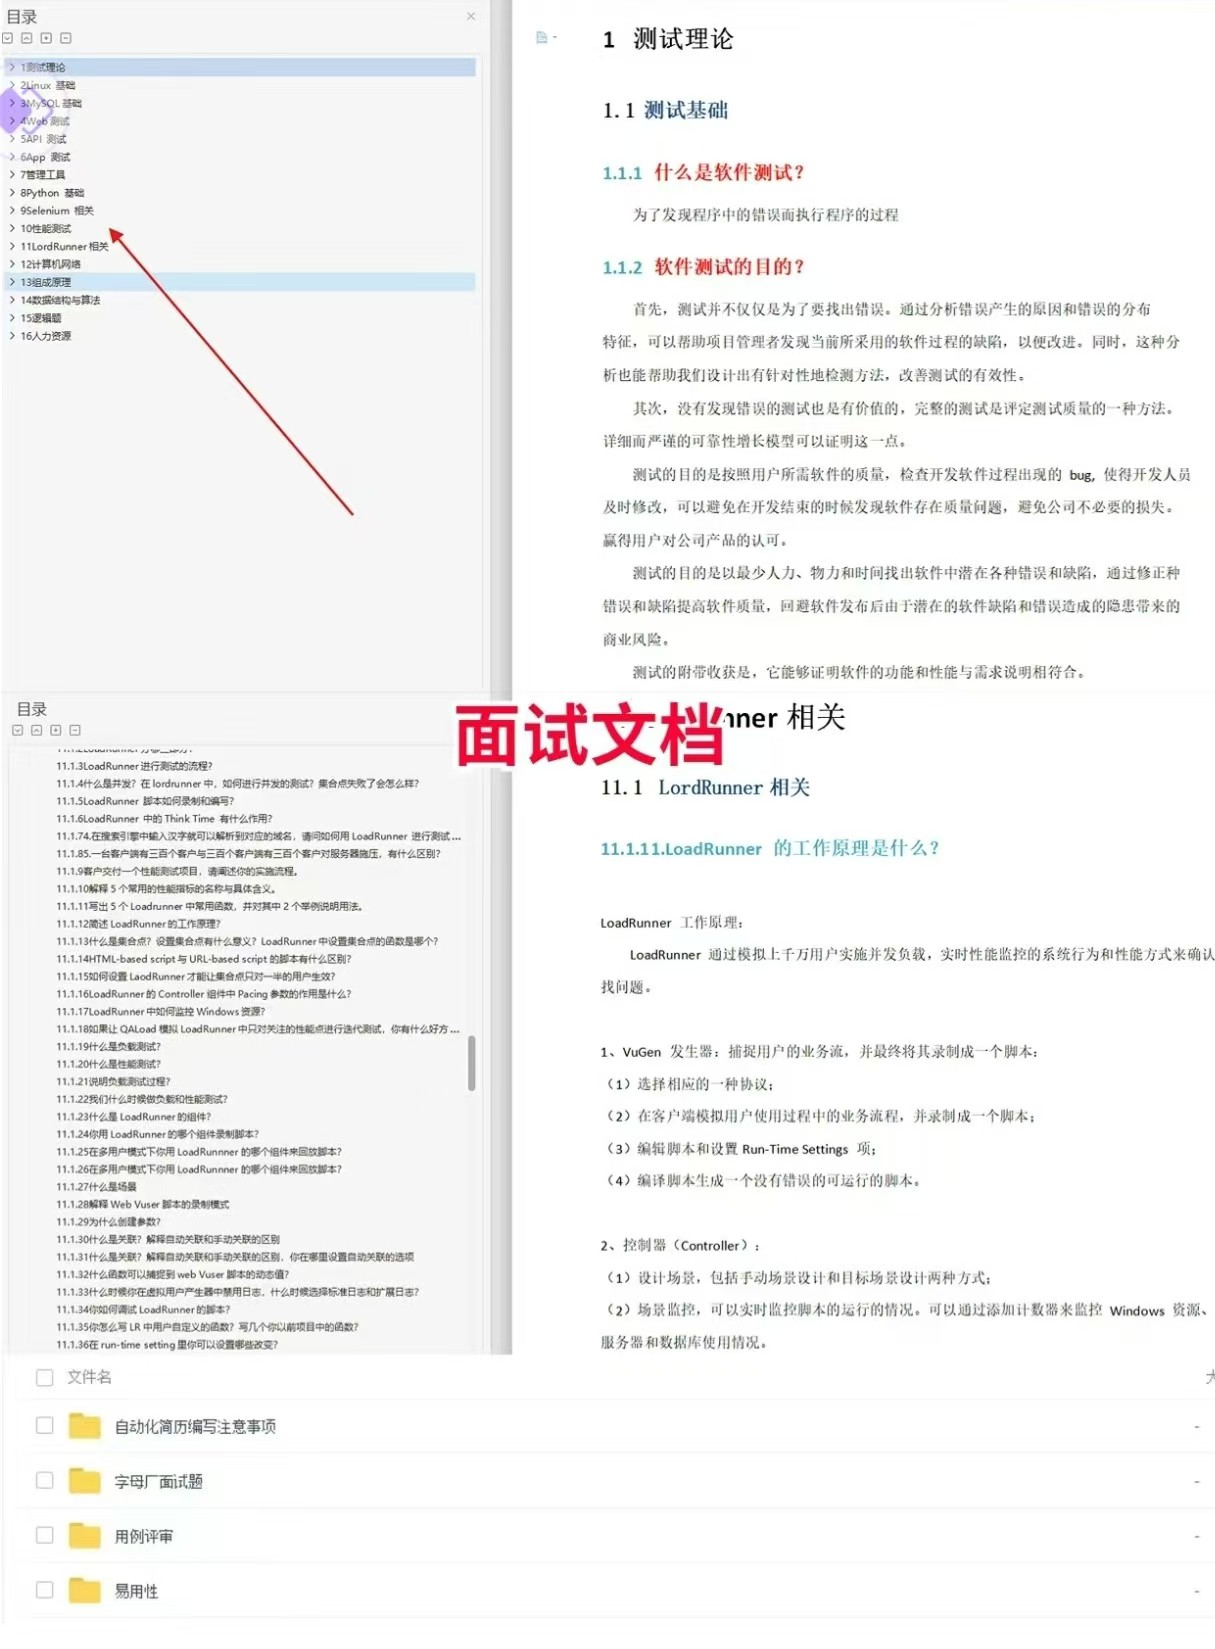
软件测试面试文档
我们学习必然是为了找到高薪的工作,下面这些面试题是来自阿里、腾讯、字节等一线互联网大厂最新的面试资料,并且有字节大佬给出了权威的解答,刷完这一套面试资料相信大家都能找到满意的工作。
视频文档获取方式:
这份文档和视频资料,对于想从事【软件测试】的朋友来说应该是最全面最完整的备战仓库,这个仓库也陪伴我走过了最艰难的路程,希望也能帮助到你!以上均可以分享,点下方小卡片即可自行领取。